from agency_swarm.tools import BaseTool
from pydantic import Field
import os
from dotenv import load_dotenv
from typing import Literal
load_dotenv()
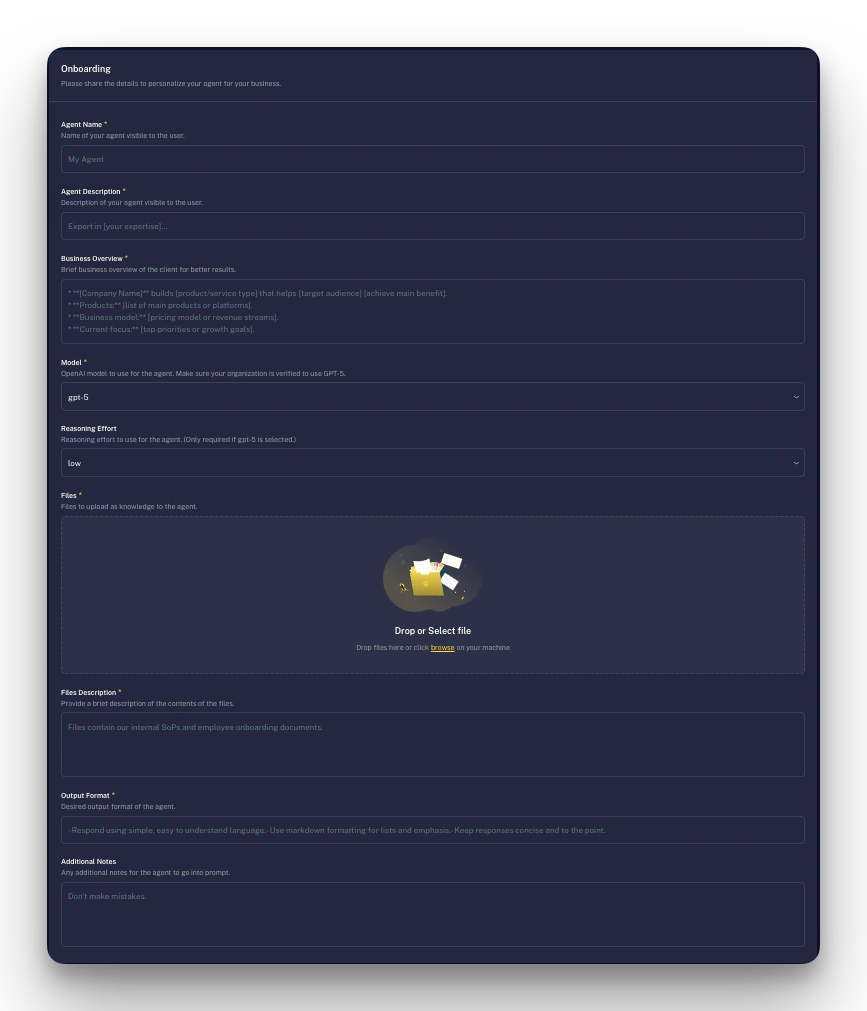
class OnboardingTool(BaseTool):
"""
Customizes the accounting agent based on the client's specific accounting processes,
software, and preferences before deployment.
"""
agent_name: str = Field(
...,
description="Name of your accounting agent visible to the user."
)
business_overview: str = Field(
...,
description="Brief business overview including industry, size, and accounting needs."
)
accounting_frequency: Literal["weekly", "monthly", "quarterly"] = Field(
...,
description="How often accounting tasks should be performed."
)
accounting_software: Literal["xero", "quickbooks", "freshbooks", "sage", "other"] = Field(
...,
description="The accounting software platform the client uses."
)
invoice_delivery_method: Literal["email", "customer_portal", "both"] = Field(
...,
description="Preferred method for sending invoices to clients."
)
def run(self):
"""
Programmatically writes a JSON config containing all user-provided accounting parameters
to onboarding_config.json, in the exact same directory as this tool file.
"""
import json
# Get tool directory path
tool_dir = os.path.dirname(os.path.abspath(__file__))
config_path = os.path.join(tool_dir, "onboarding_config.json")
# Dynamically collect all pydantic model fields into a dict
config = self.model_dump()
# Write config file
try:
with open(config_path, "w", encoding="utf-8") as f:
json.dump(config, f, indent=2, ensure_ascii=False)
return f"Accounting agent configuration created at: {config_path}"
except Exception as e:
return f"Error writing config file: {str(e)}"
if __name__ == "__main__":
# Test with sample accounting client data
tool = OnboardingTool(
agent_name="Acme Corp Accounting Agent",
business_overview="Mid-size manufacturing company with 50 employees.",
accounting_frequency="monthly",
accounting_software="xero",
invoice_delivery_method="customer_portal"
)
print(tool.run())