Feature Overview
Seamlessly connect your agents to WhatsApp using Twilio, a messaging service that significantly simplifies WhatsApp Sender Business profile setup.
Prerequisites
- A verified Twilio Account (Sign up here) with a provisioned phone number.
- A verified Facebook Business account (Learn more) and a verified WhatsApp Business Portfolio (How to verify your WhatsApp Business Account).
Creating a WhatsApp Agent via Twilio
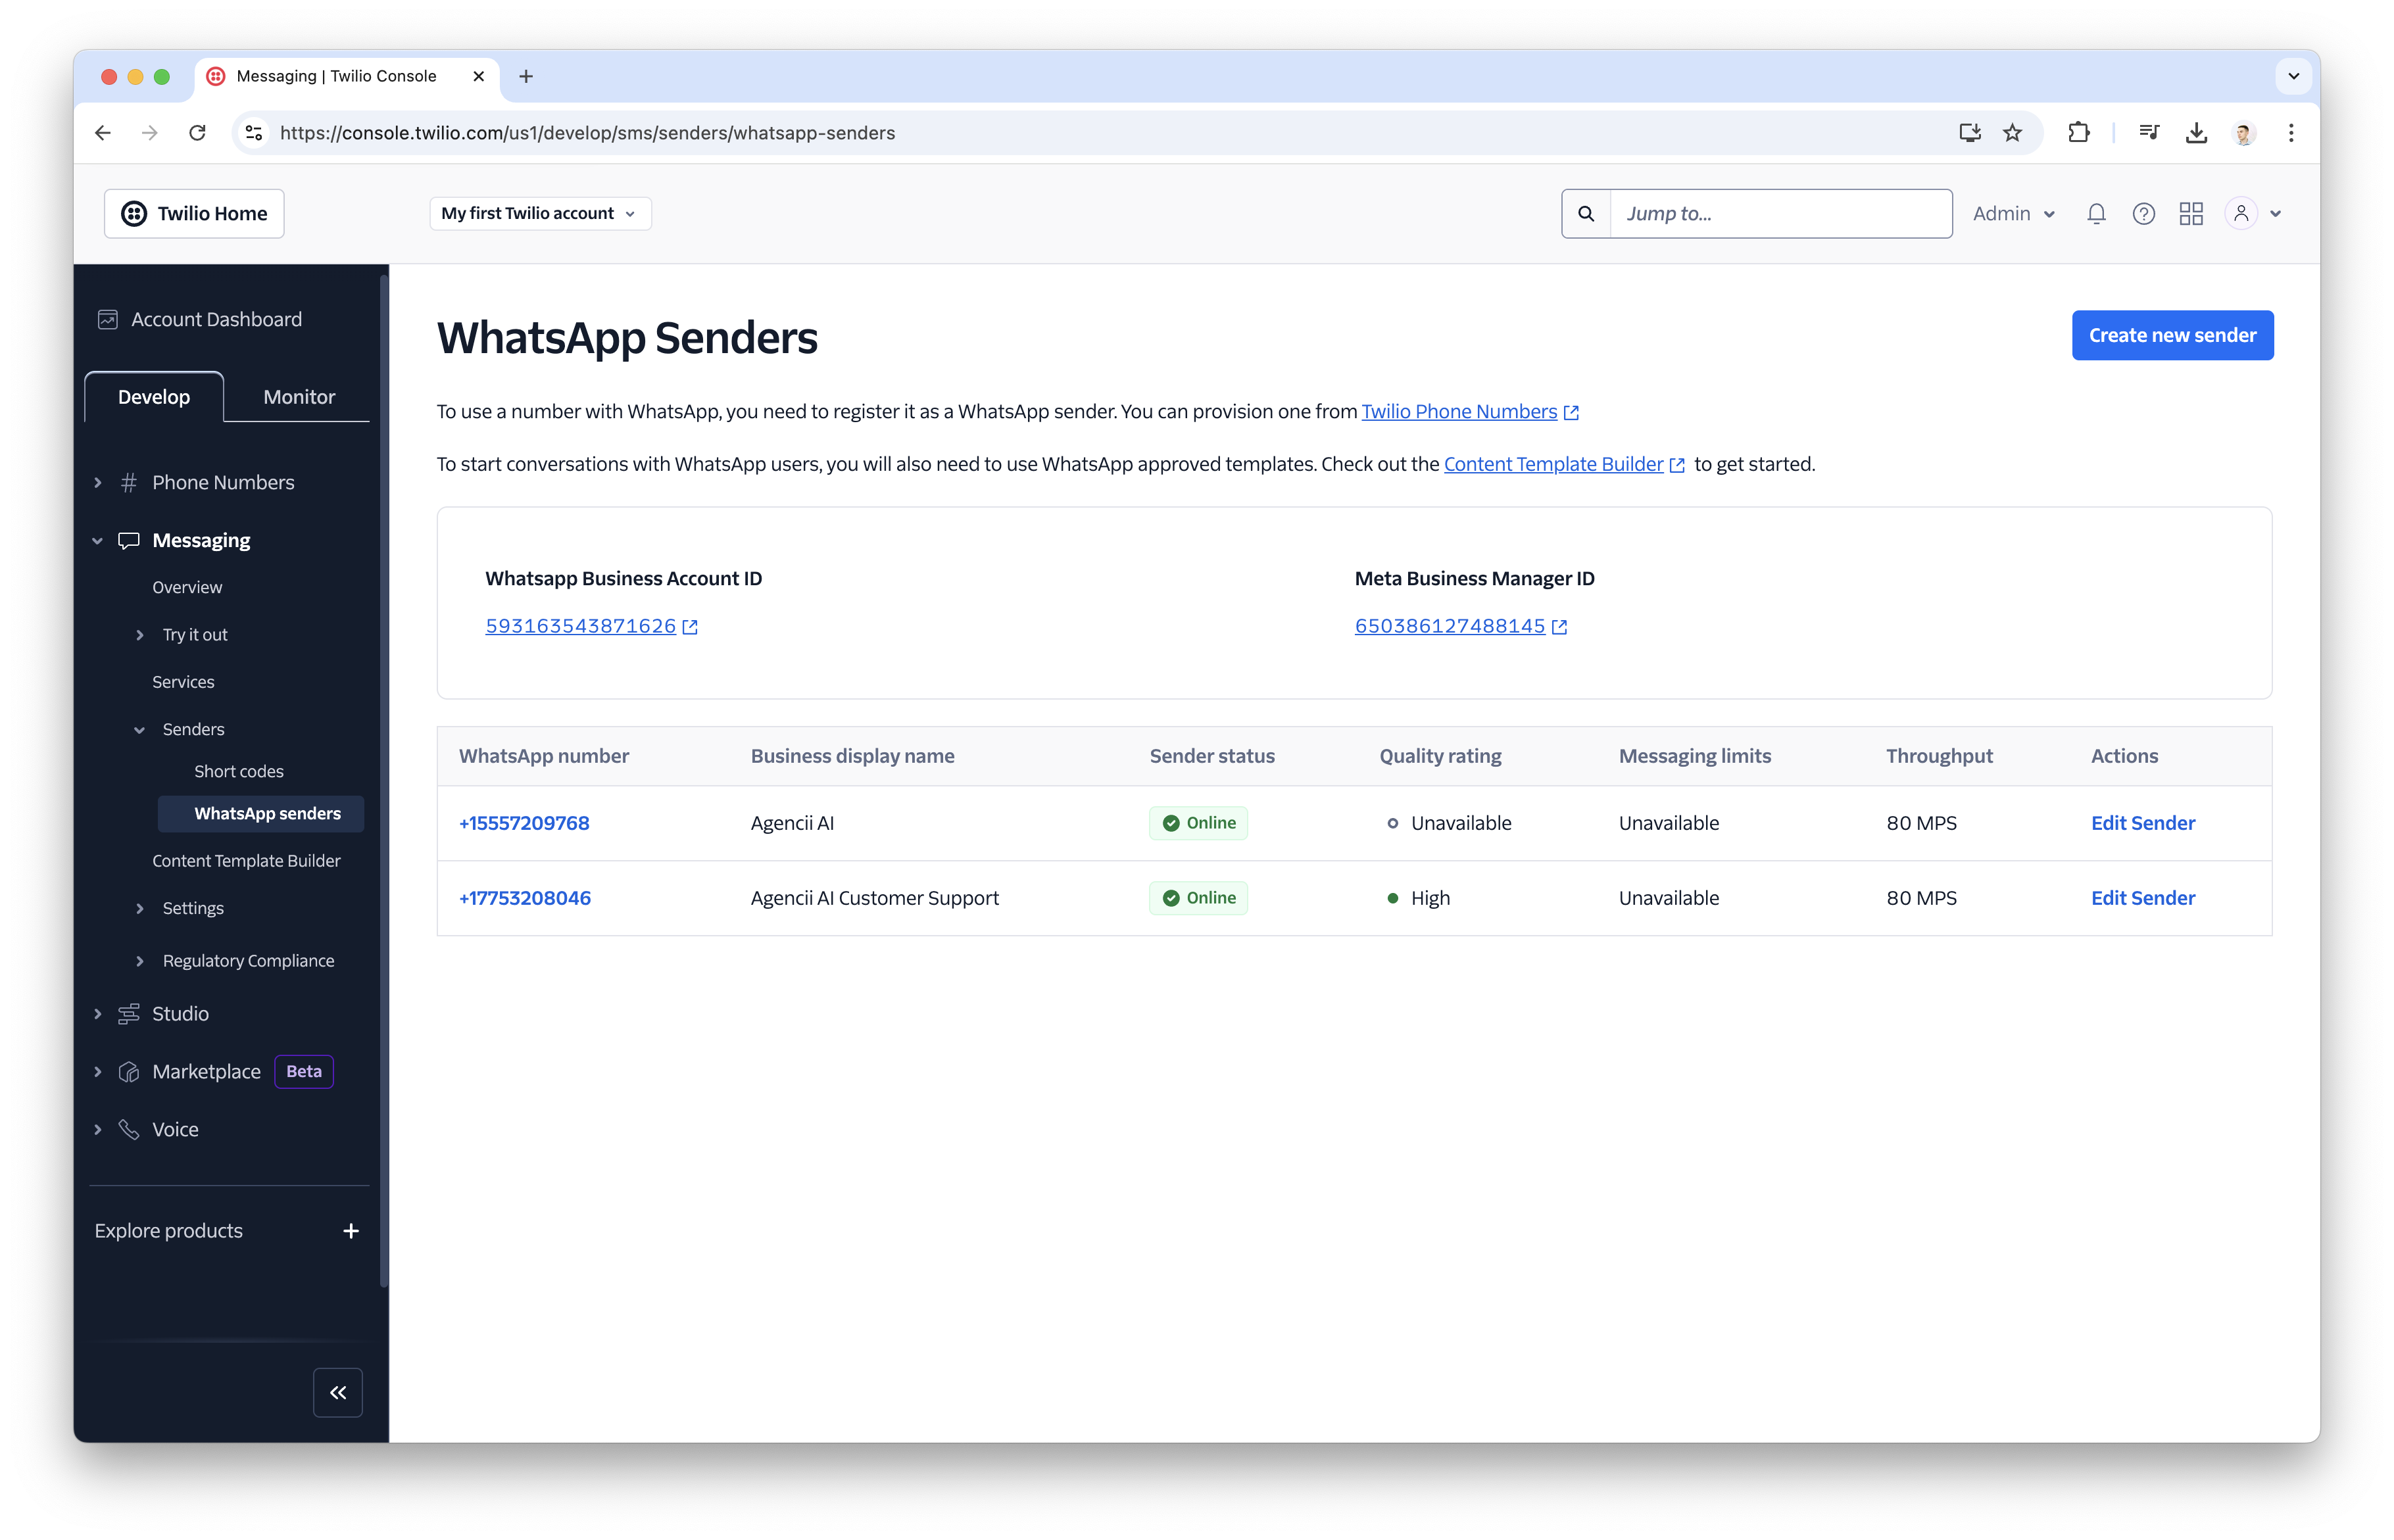
Create a WhatsApp Sender via Twilio
-
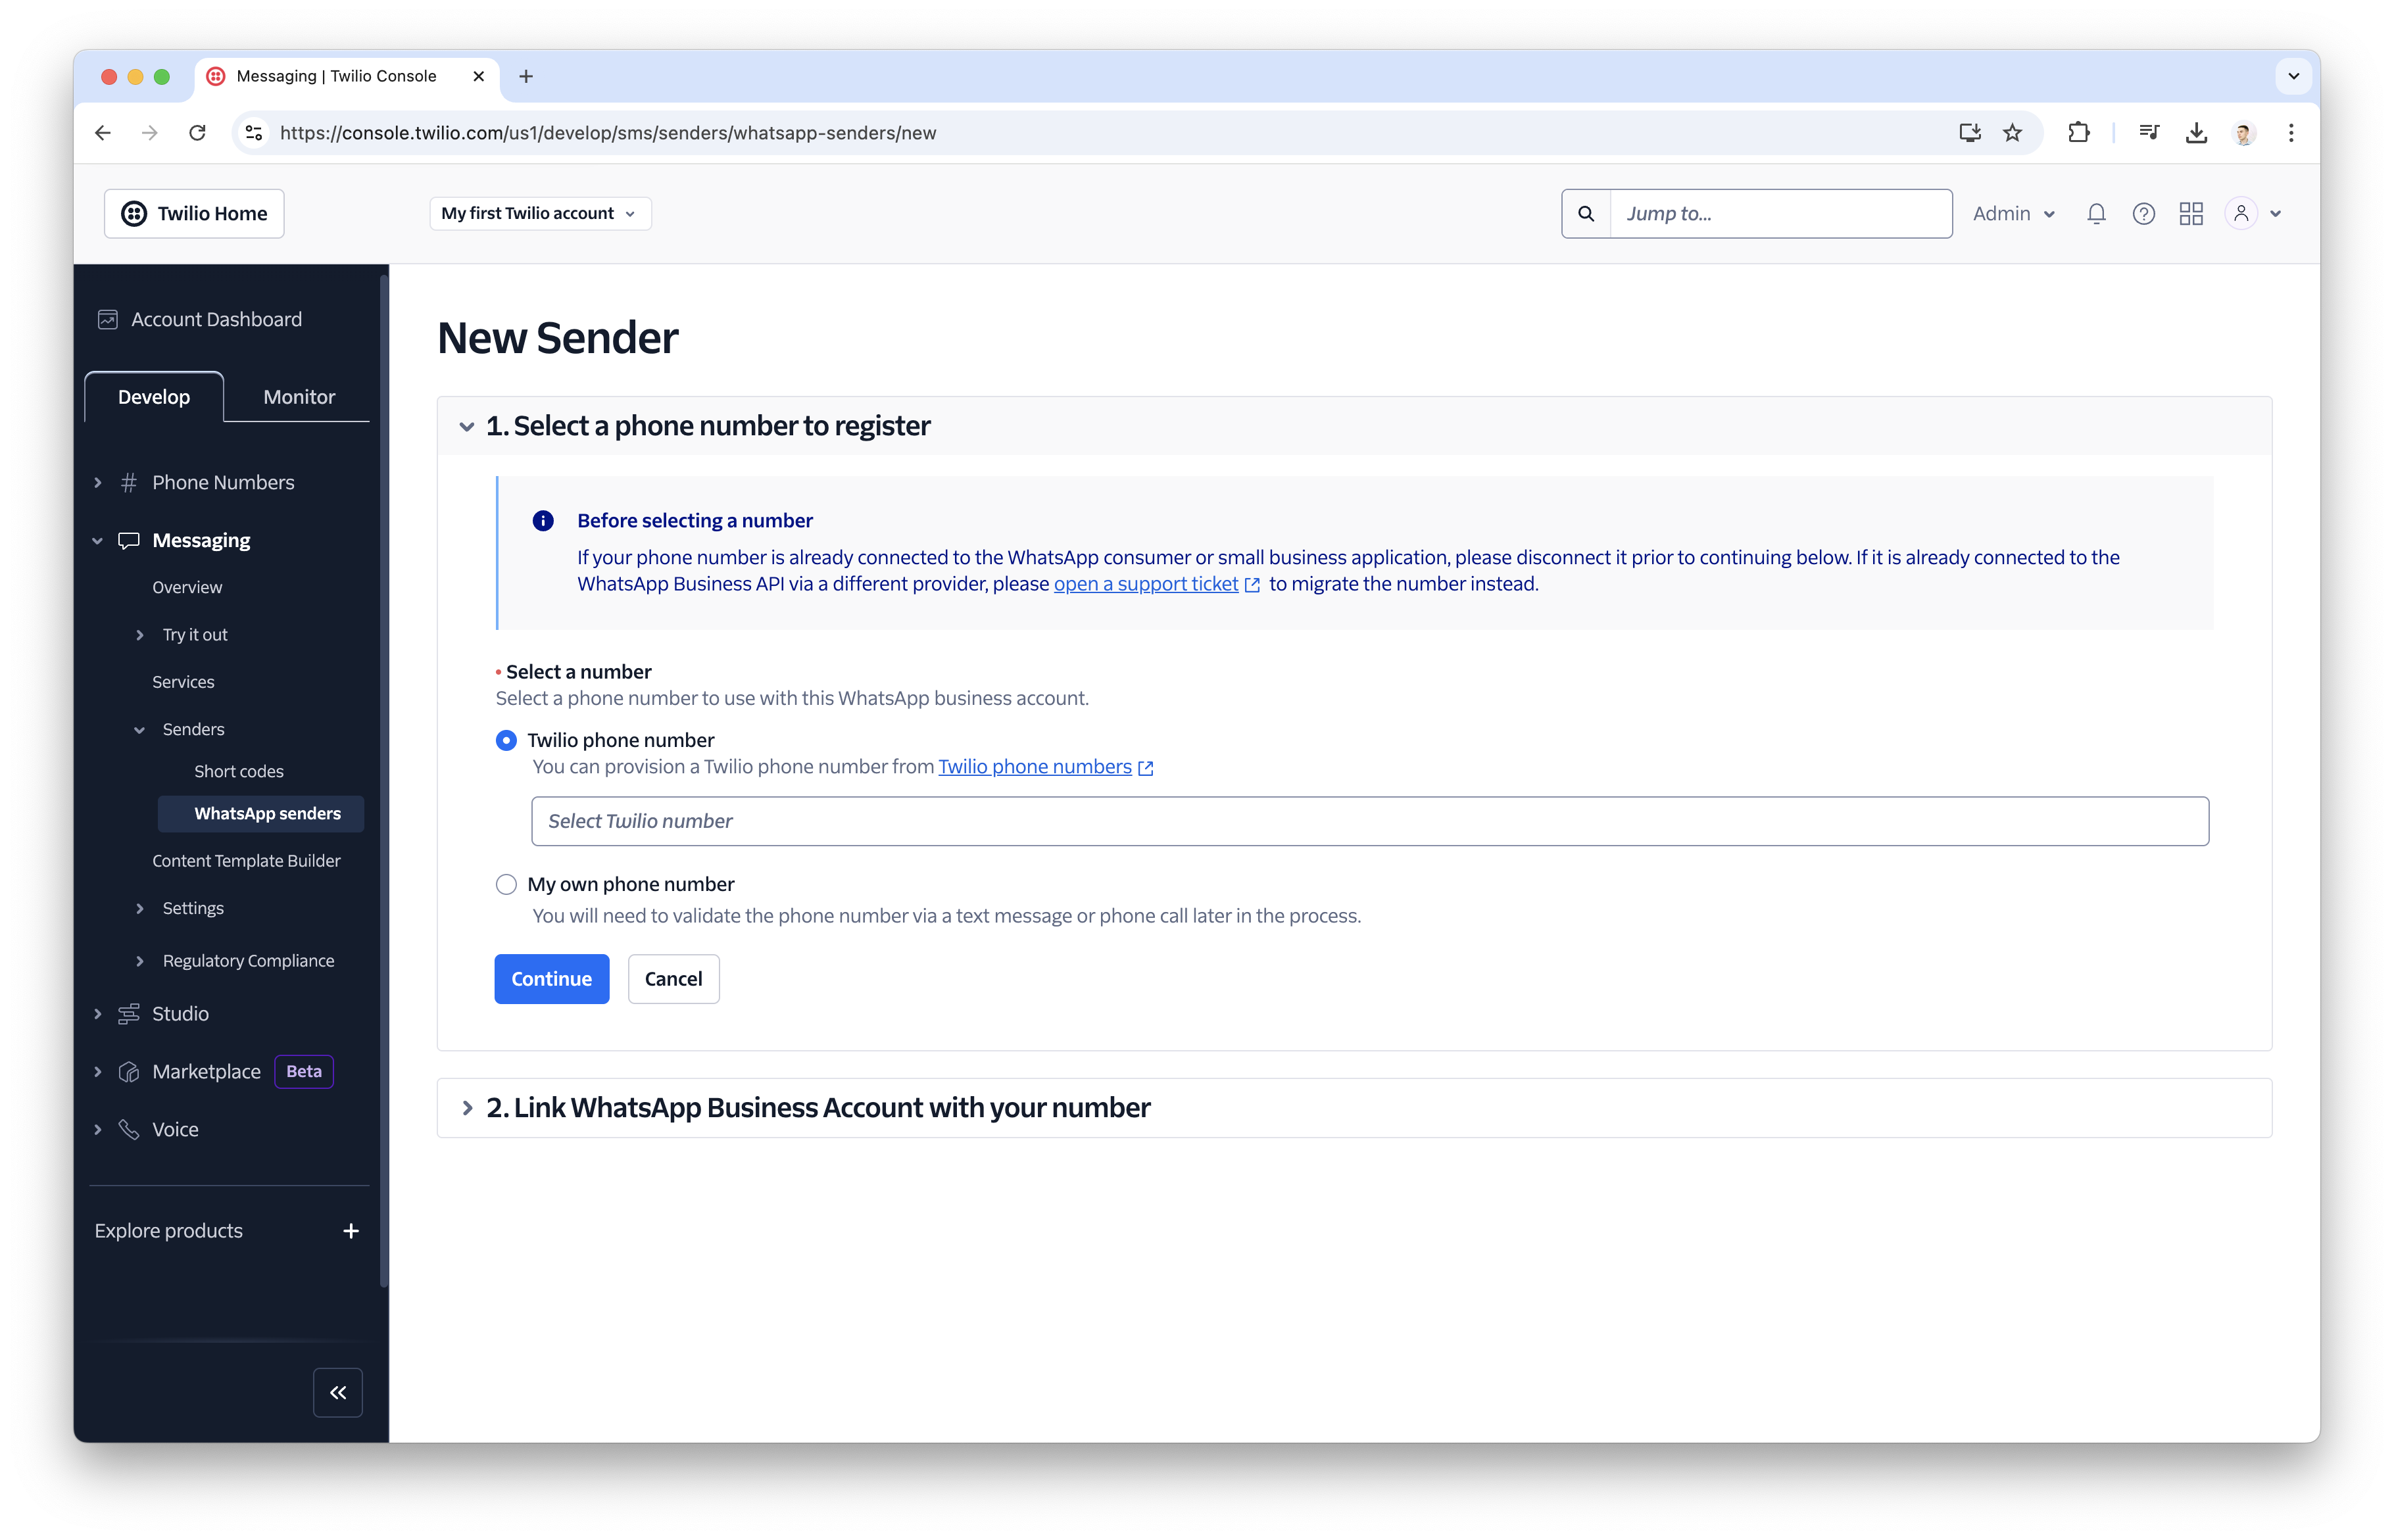
Go to Twilio Console and click on the ‘Create New Sender’ button to begin the setup.
-
Follow all the necessary steps on Twilio’s end to complete the integration.
Twilio has already documented the entire process, so you can refer to their official guides via this link: https://www.twilio.com/docs/whatsapp/self-sign-up
- Once you have a verified WhatsApp Sender with the status set to Online, you can proceed to the next steps.
Create a New WhatsApp Integration
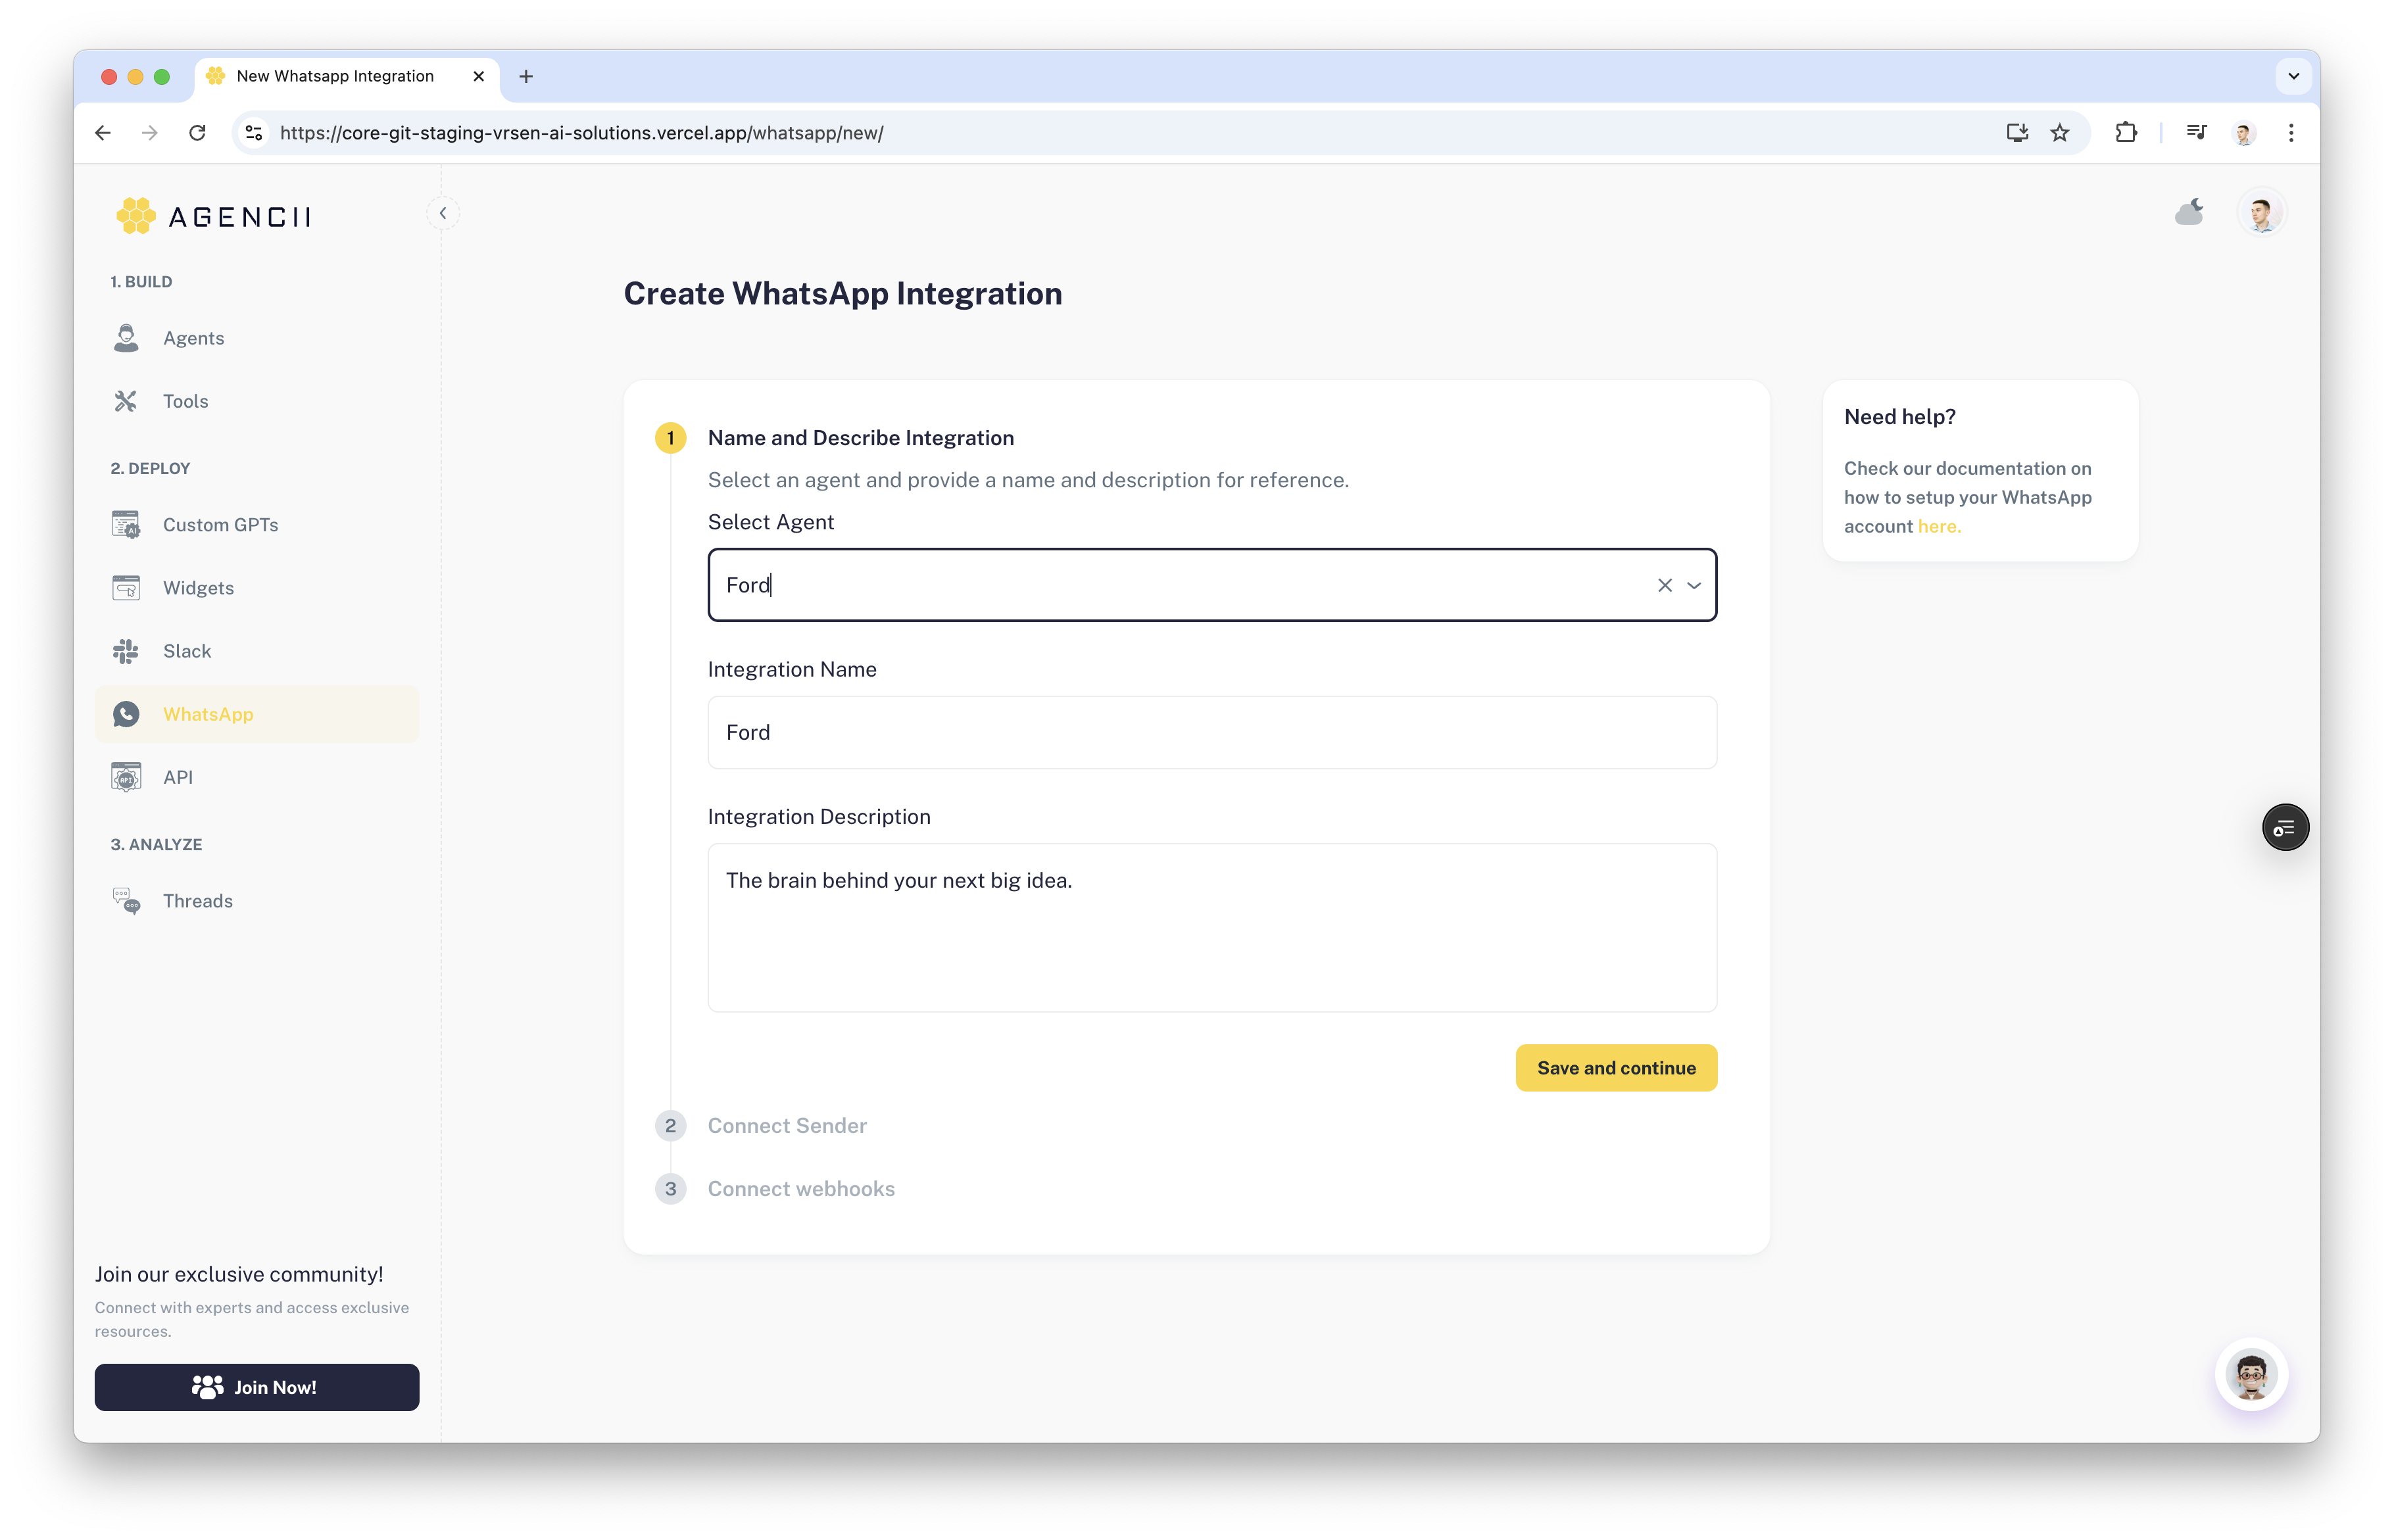
- Go to https://agencii.ai/whatsapp/ and click on the ‘Connect WhatsApp’ button to begin the setup.
-
Enter your Agent details
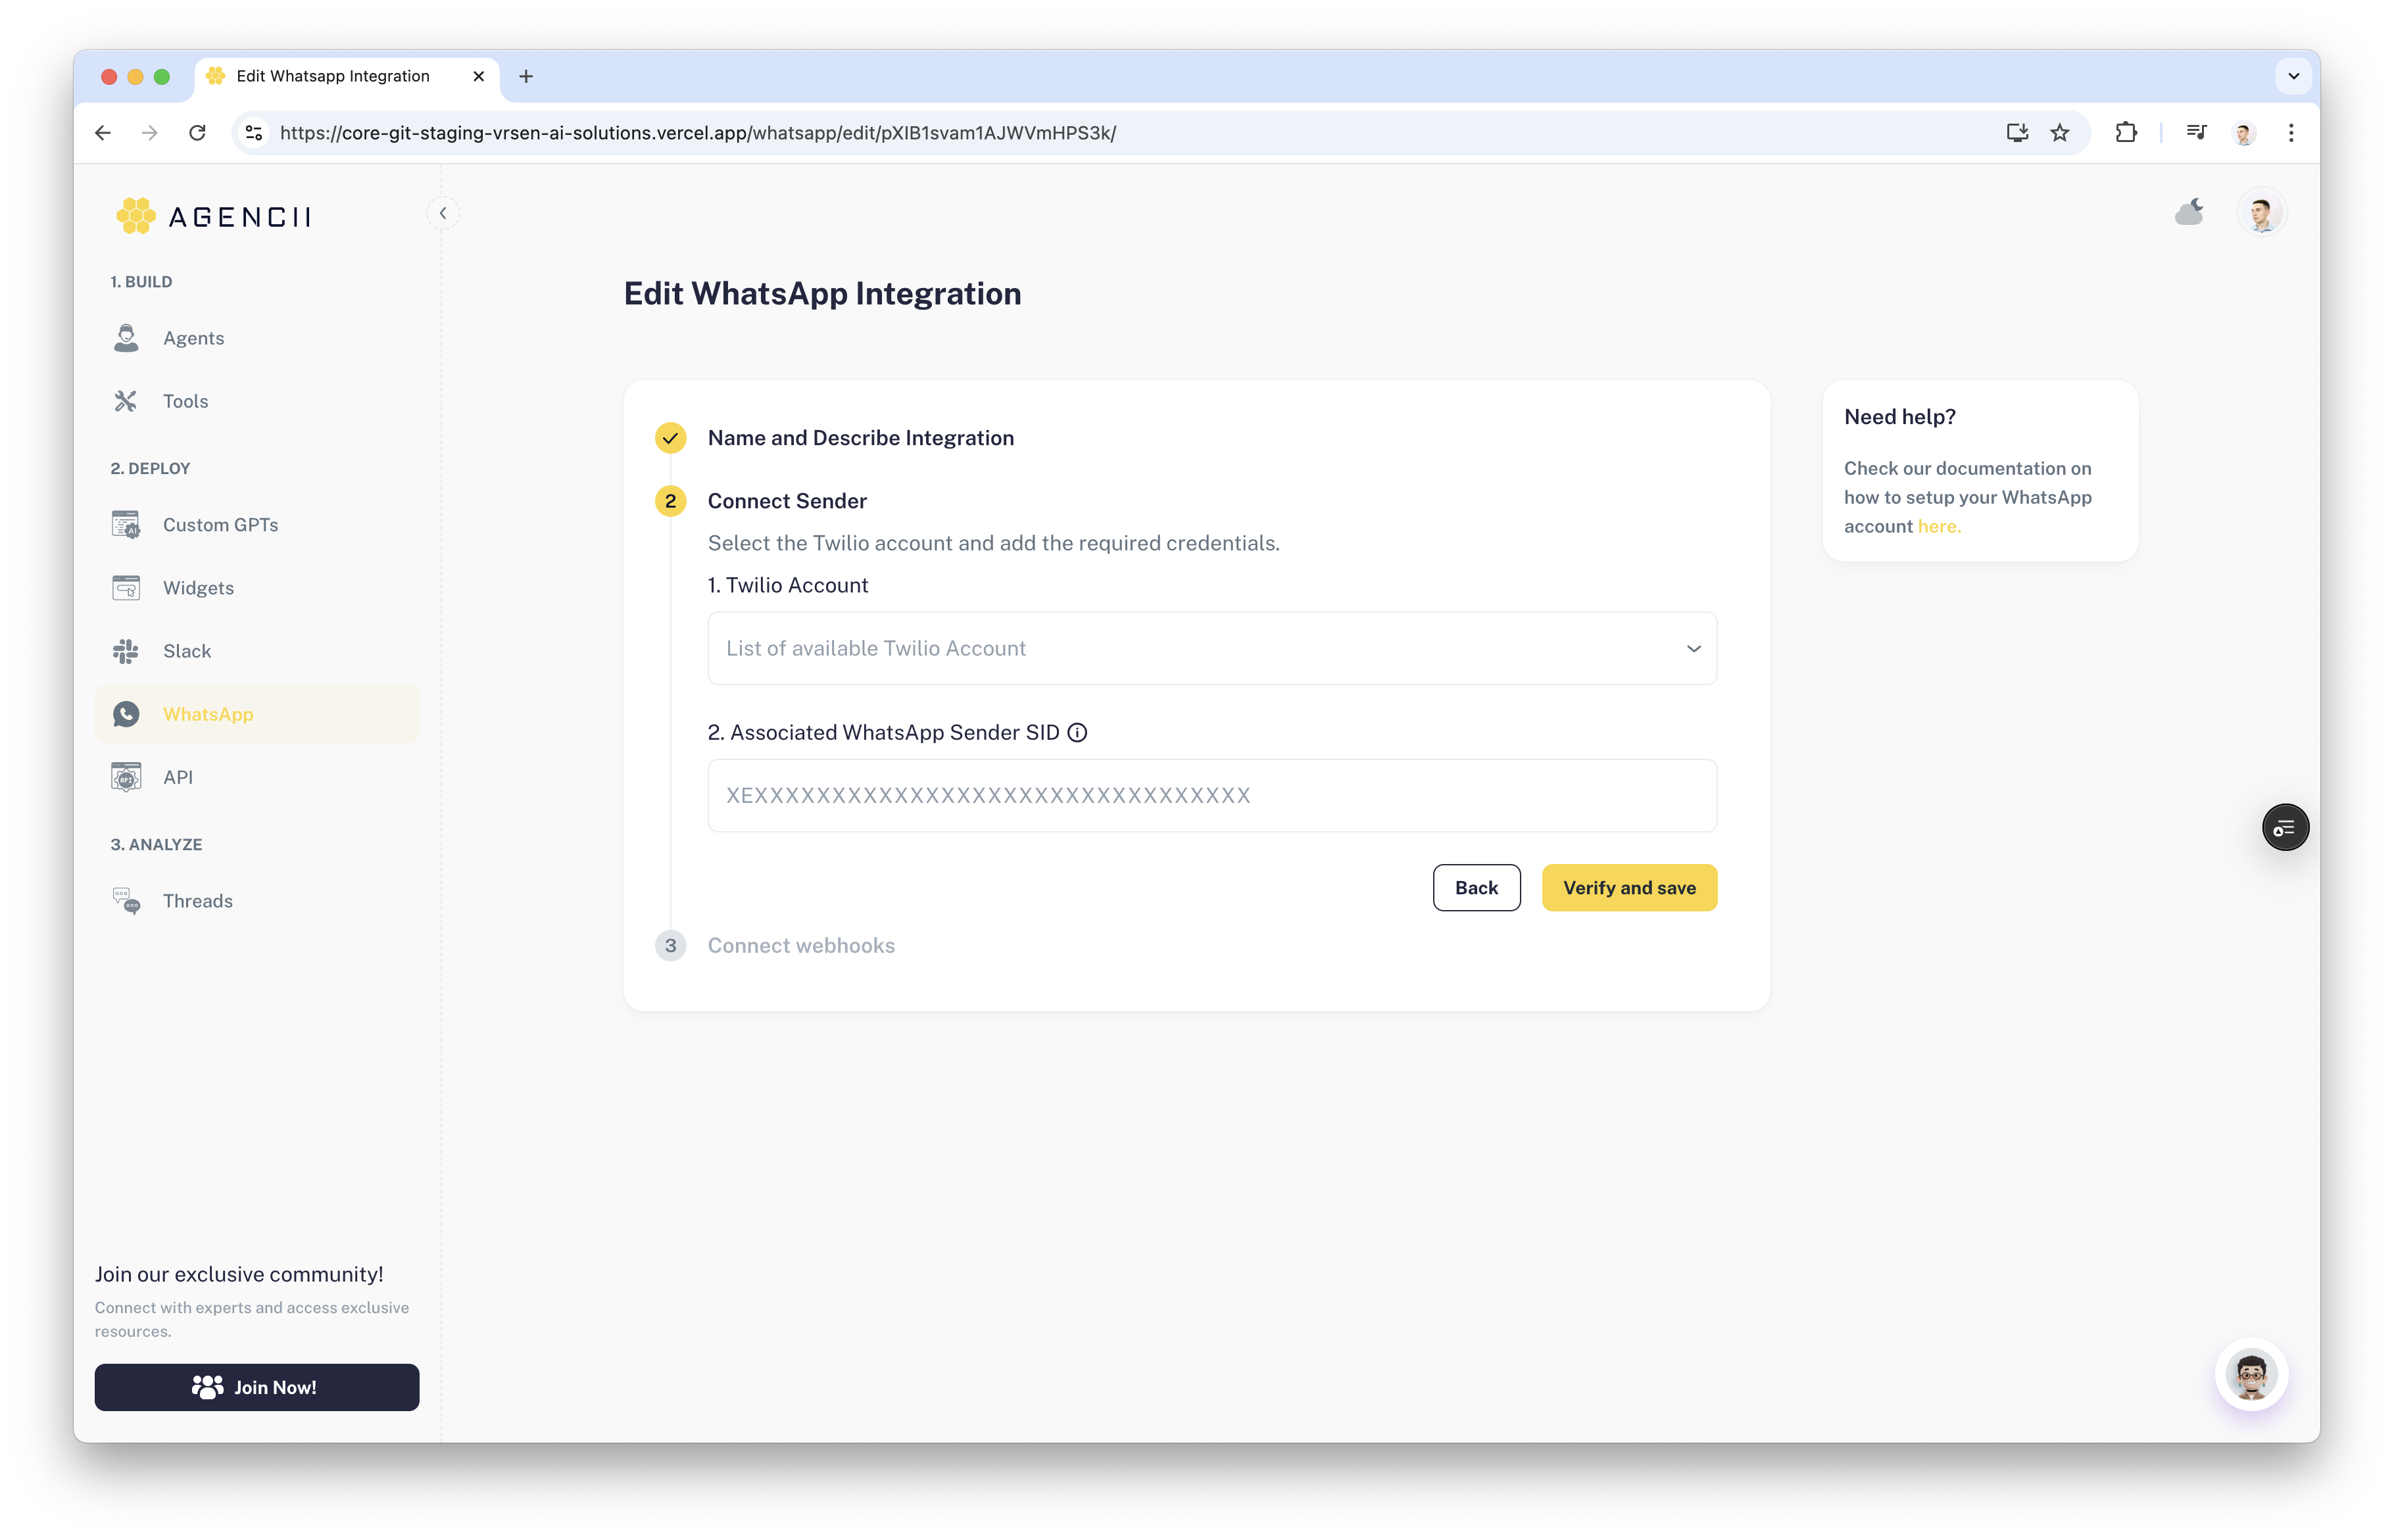
Select or Create your Twilio Account
-
Select your Twilio account from the dashboard.
-
To add a new account, copy and paste your Account SID and Auth Token from the bottom of the Twilio dashboard.
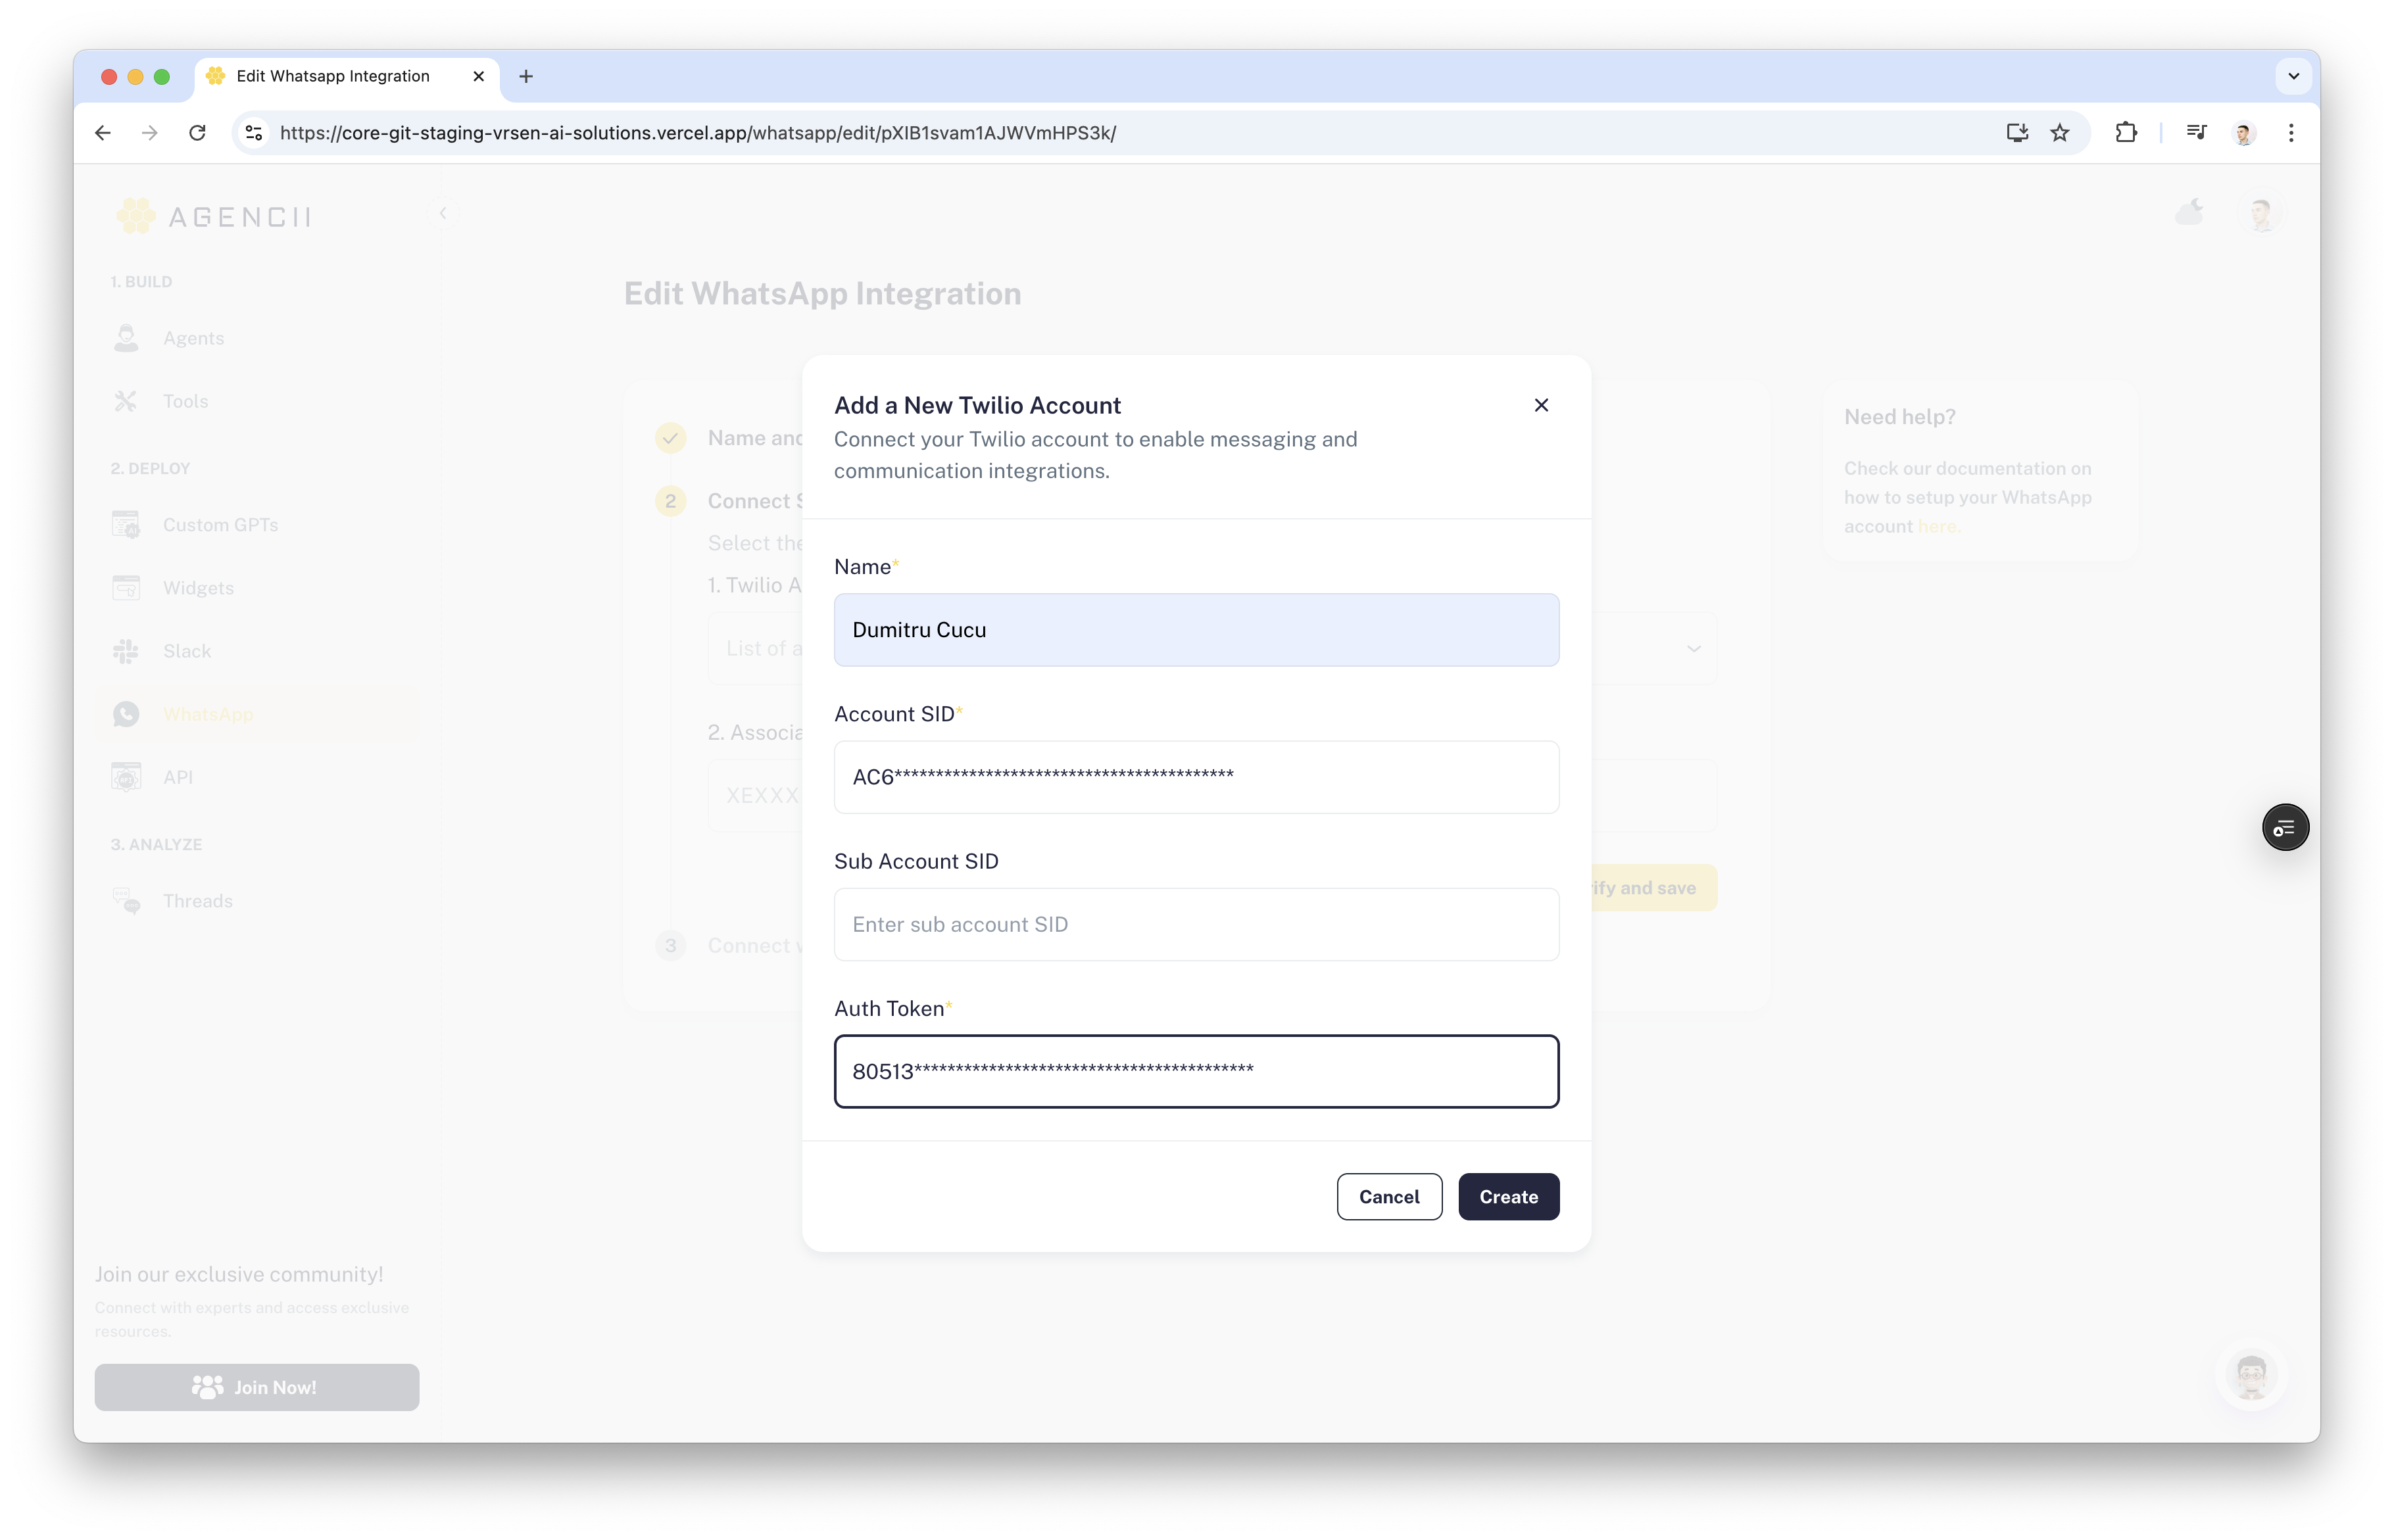
- (Optional) If you have a Subaccount, paste the Subaccount SID as well.
- Click Create
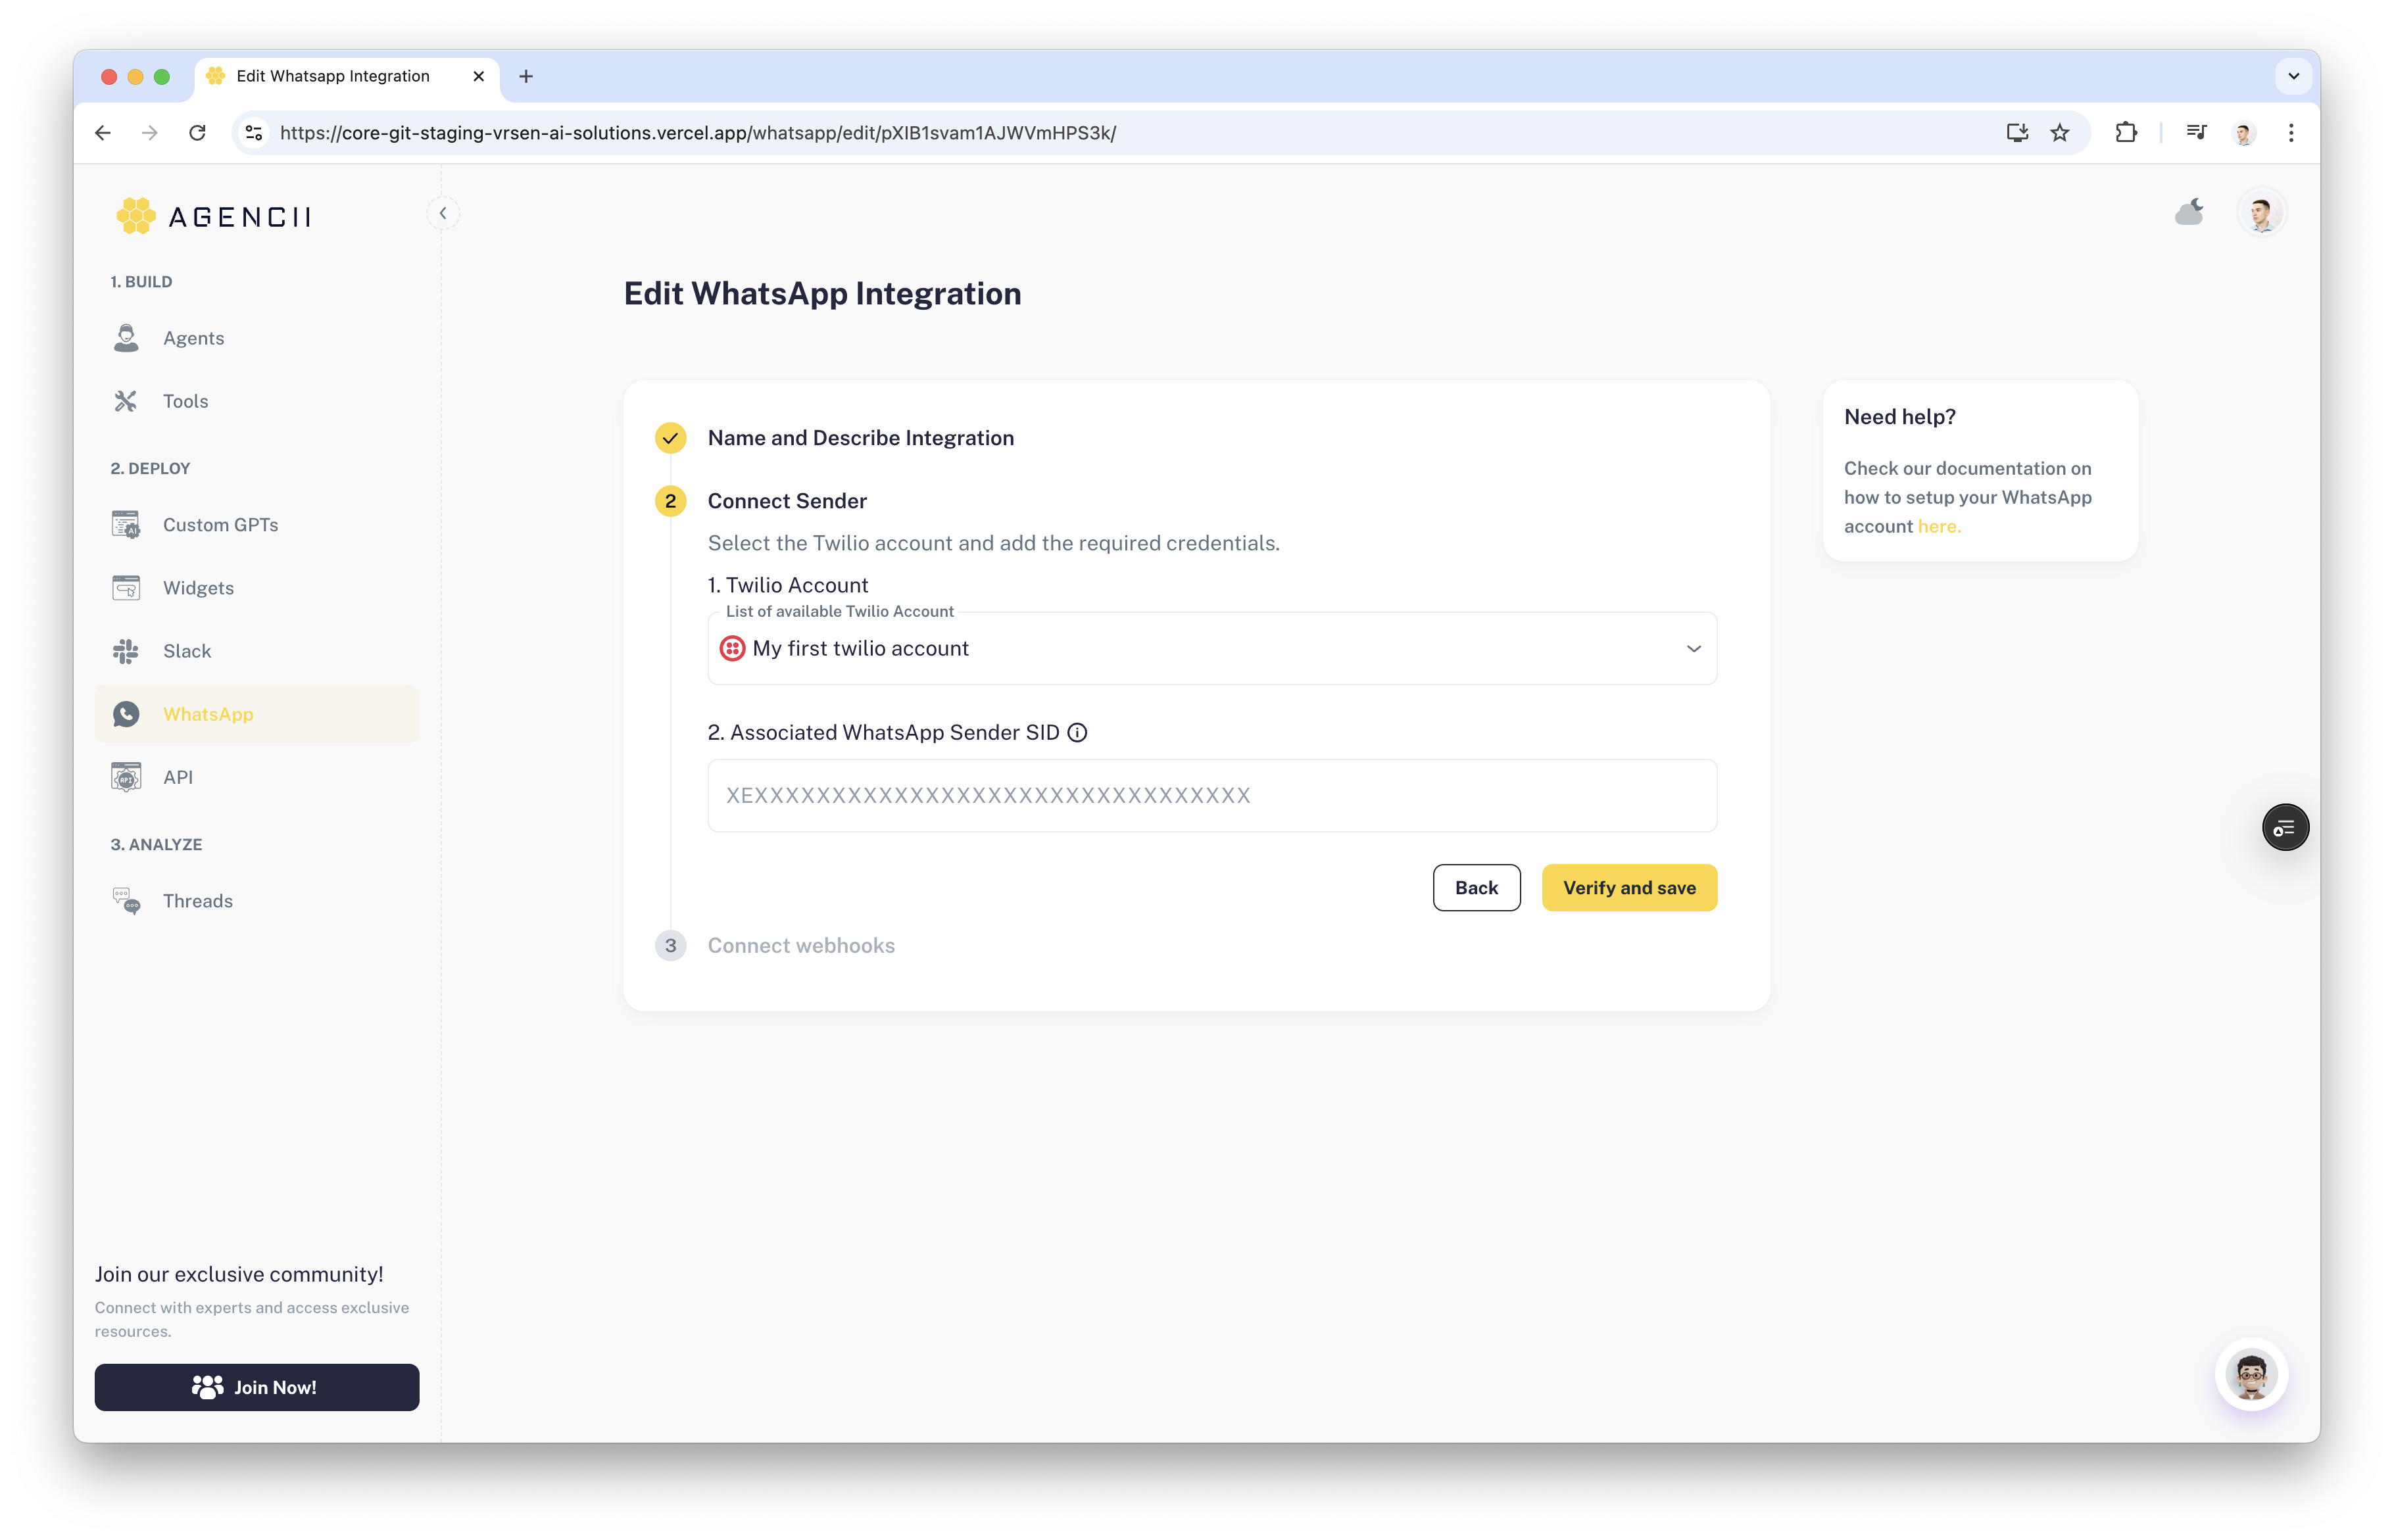
Add your WhatsApp Sender SID
-
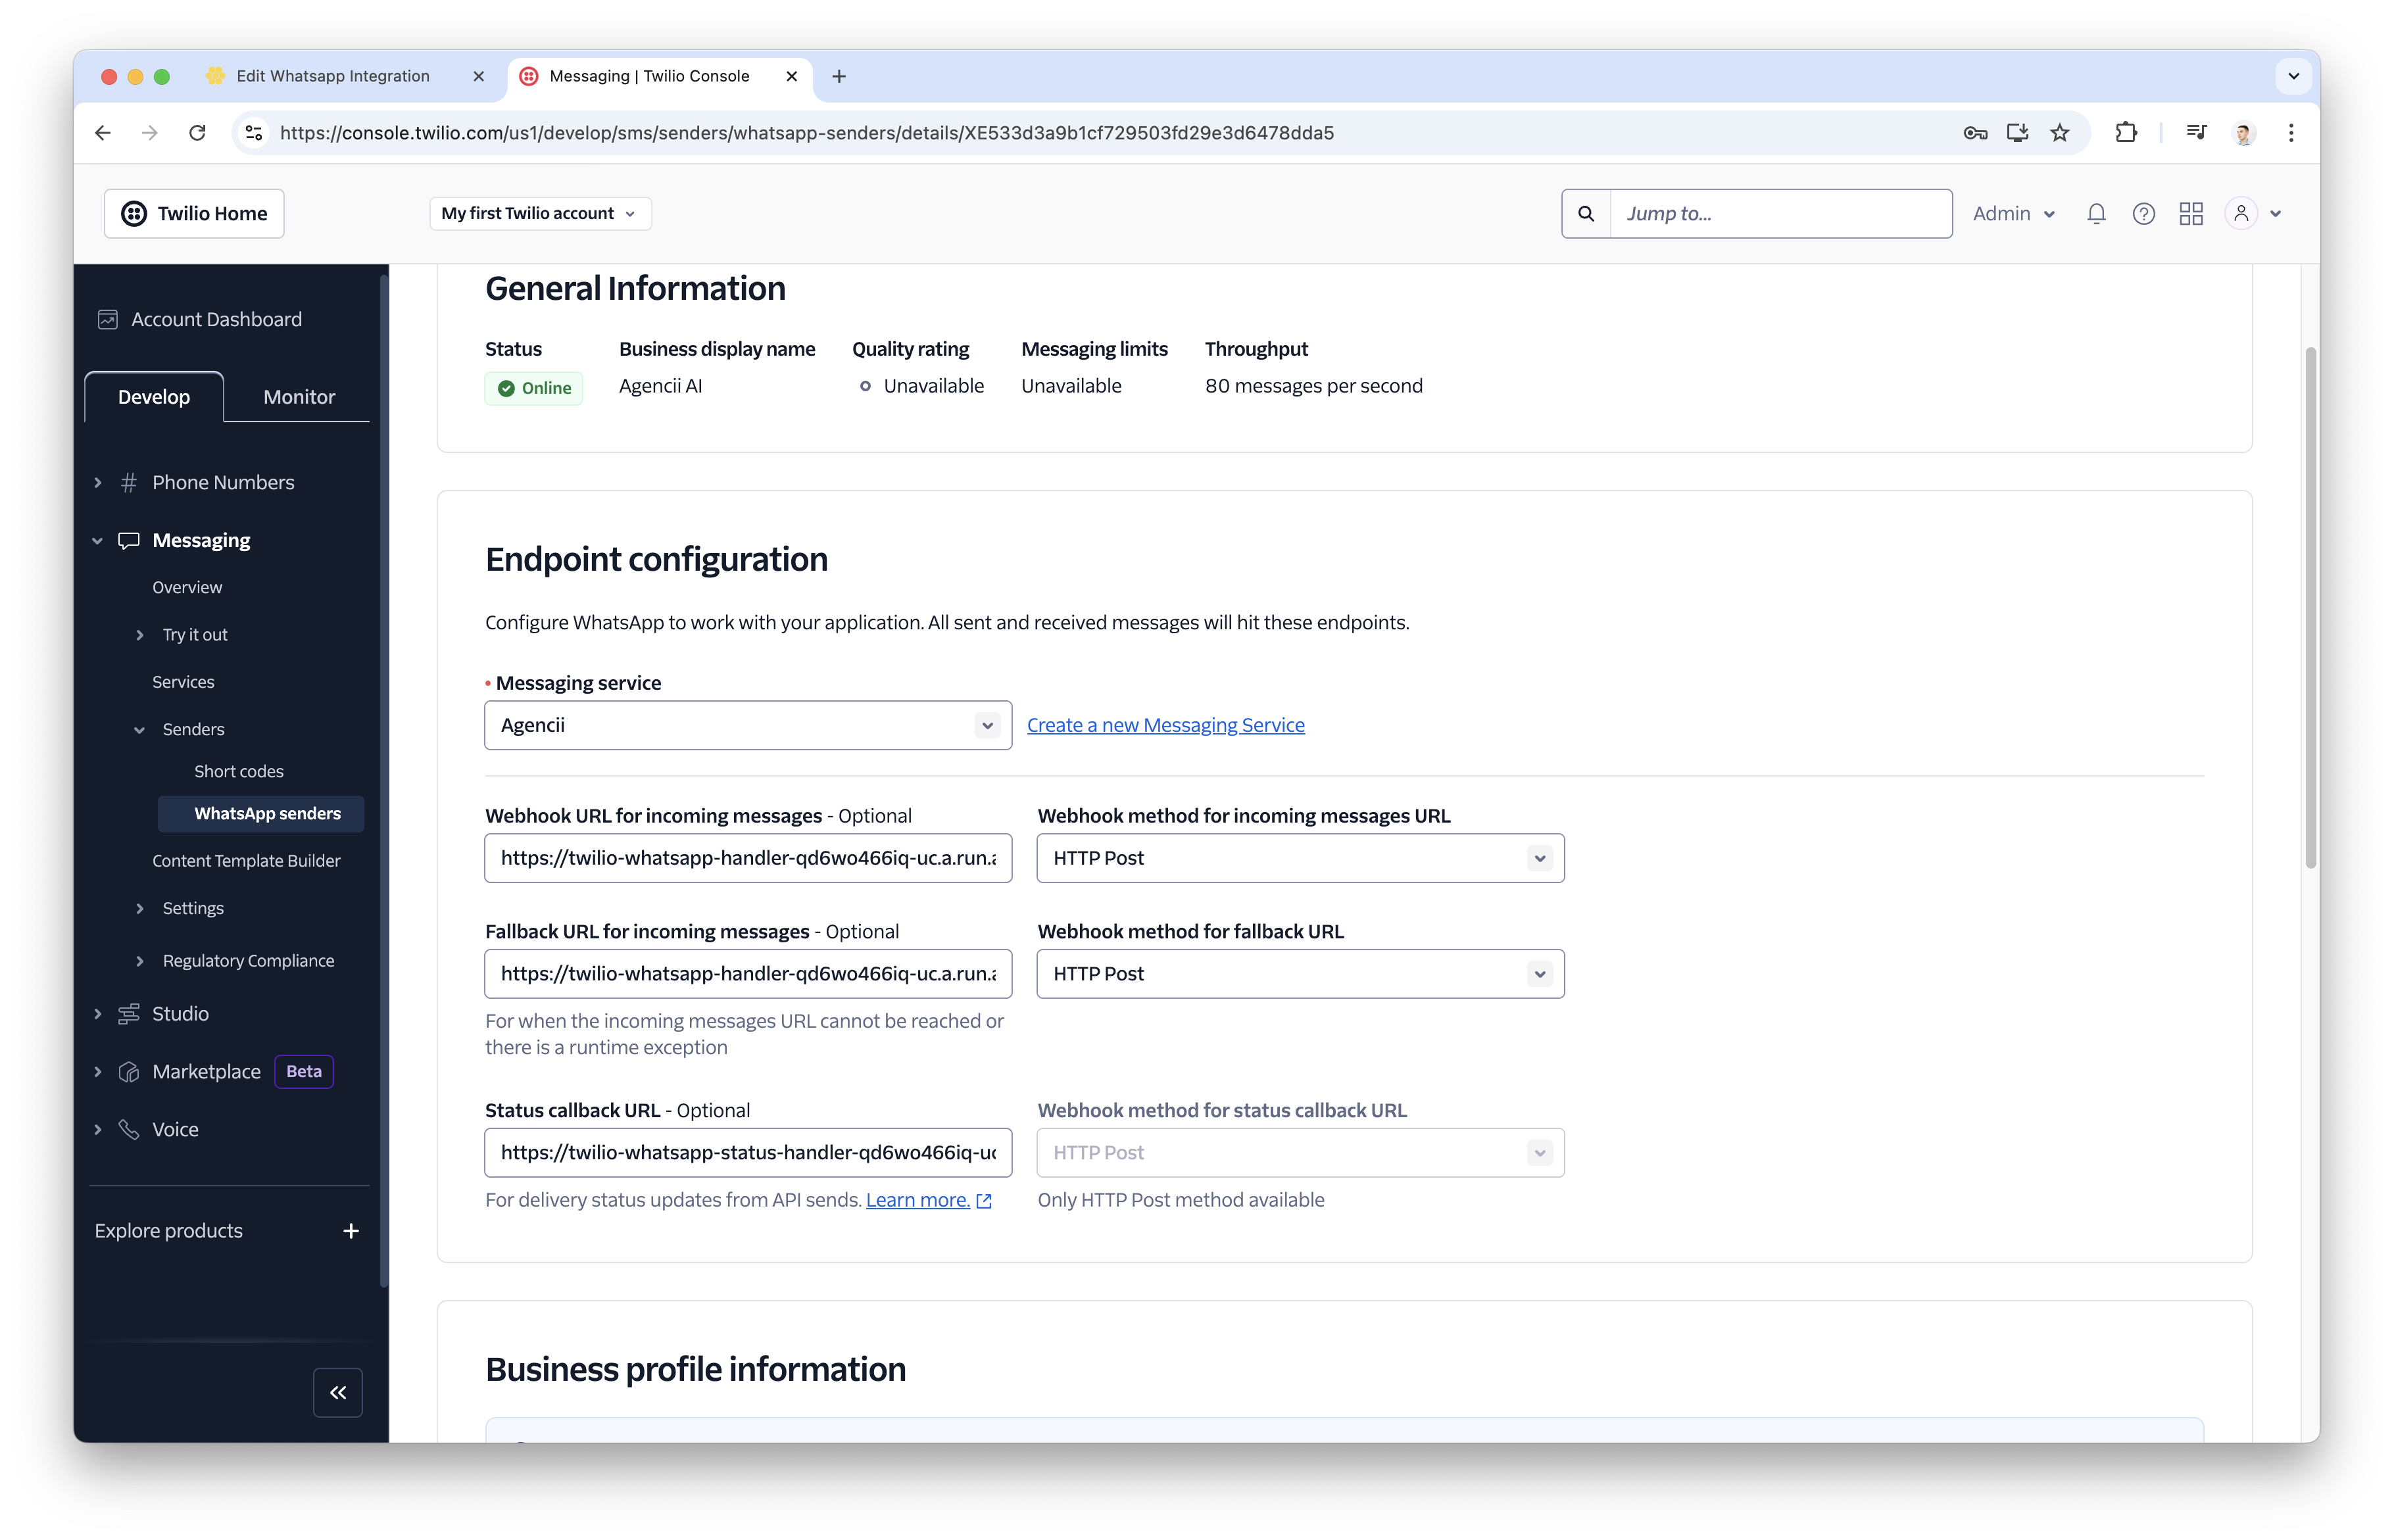
Find your WhatsApp Sender SID in the Twilio Console under Messaging → Senders → WhatsApp Senders, then copy it from the URL. Example: https://console.twilio.com/us1/develop/sms/senders/whatsapp-senders/details/XEXXXXXXXXXXXXXXXXXXXXXXXXXXXXXXXX

-
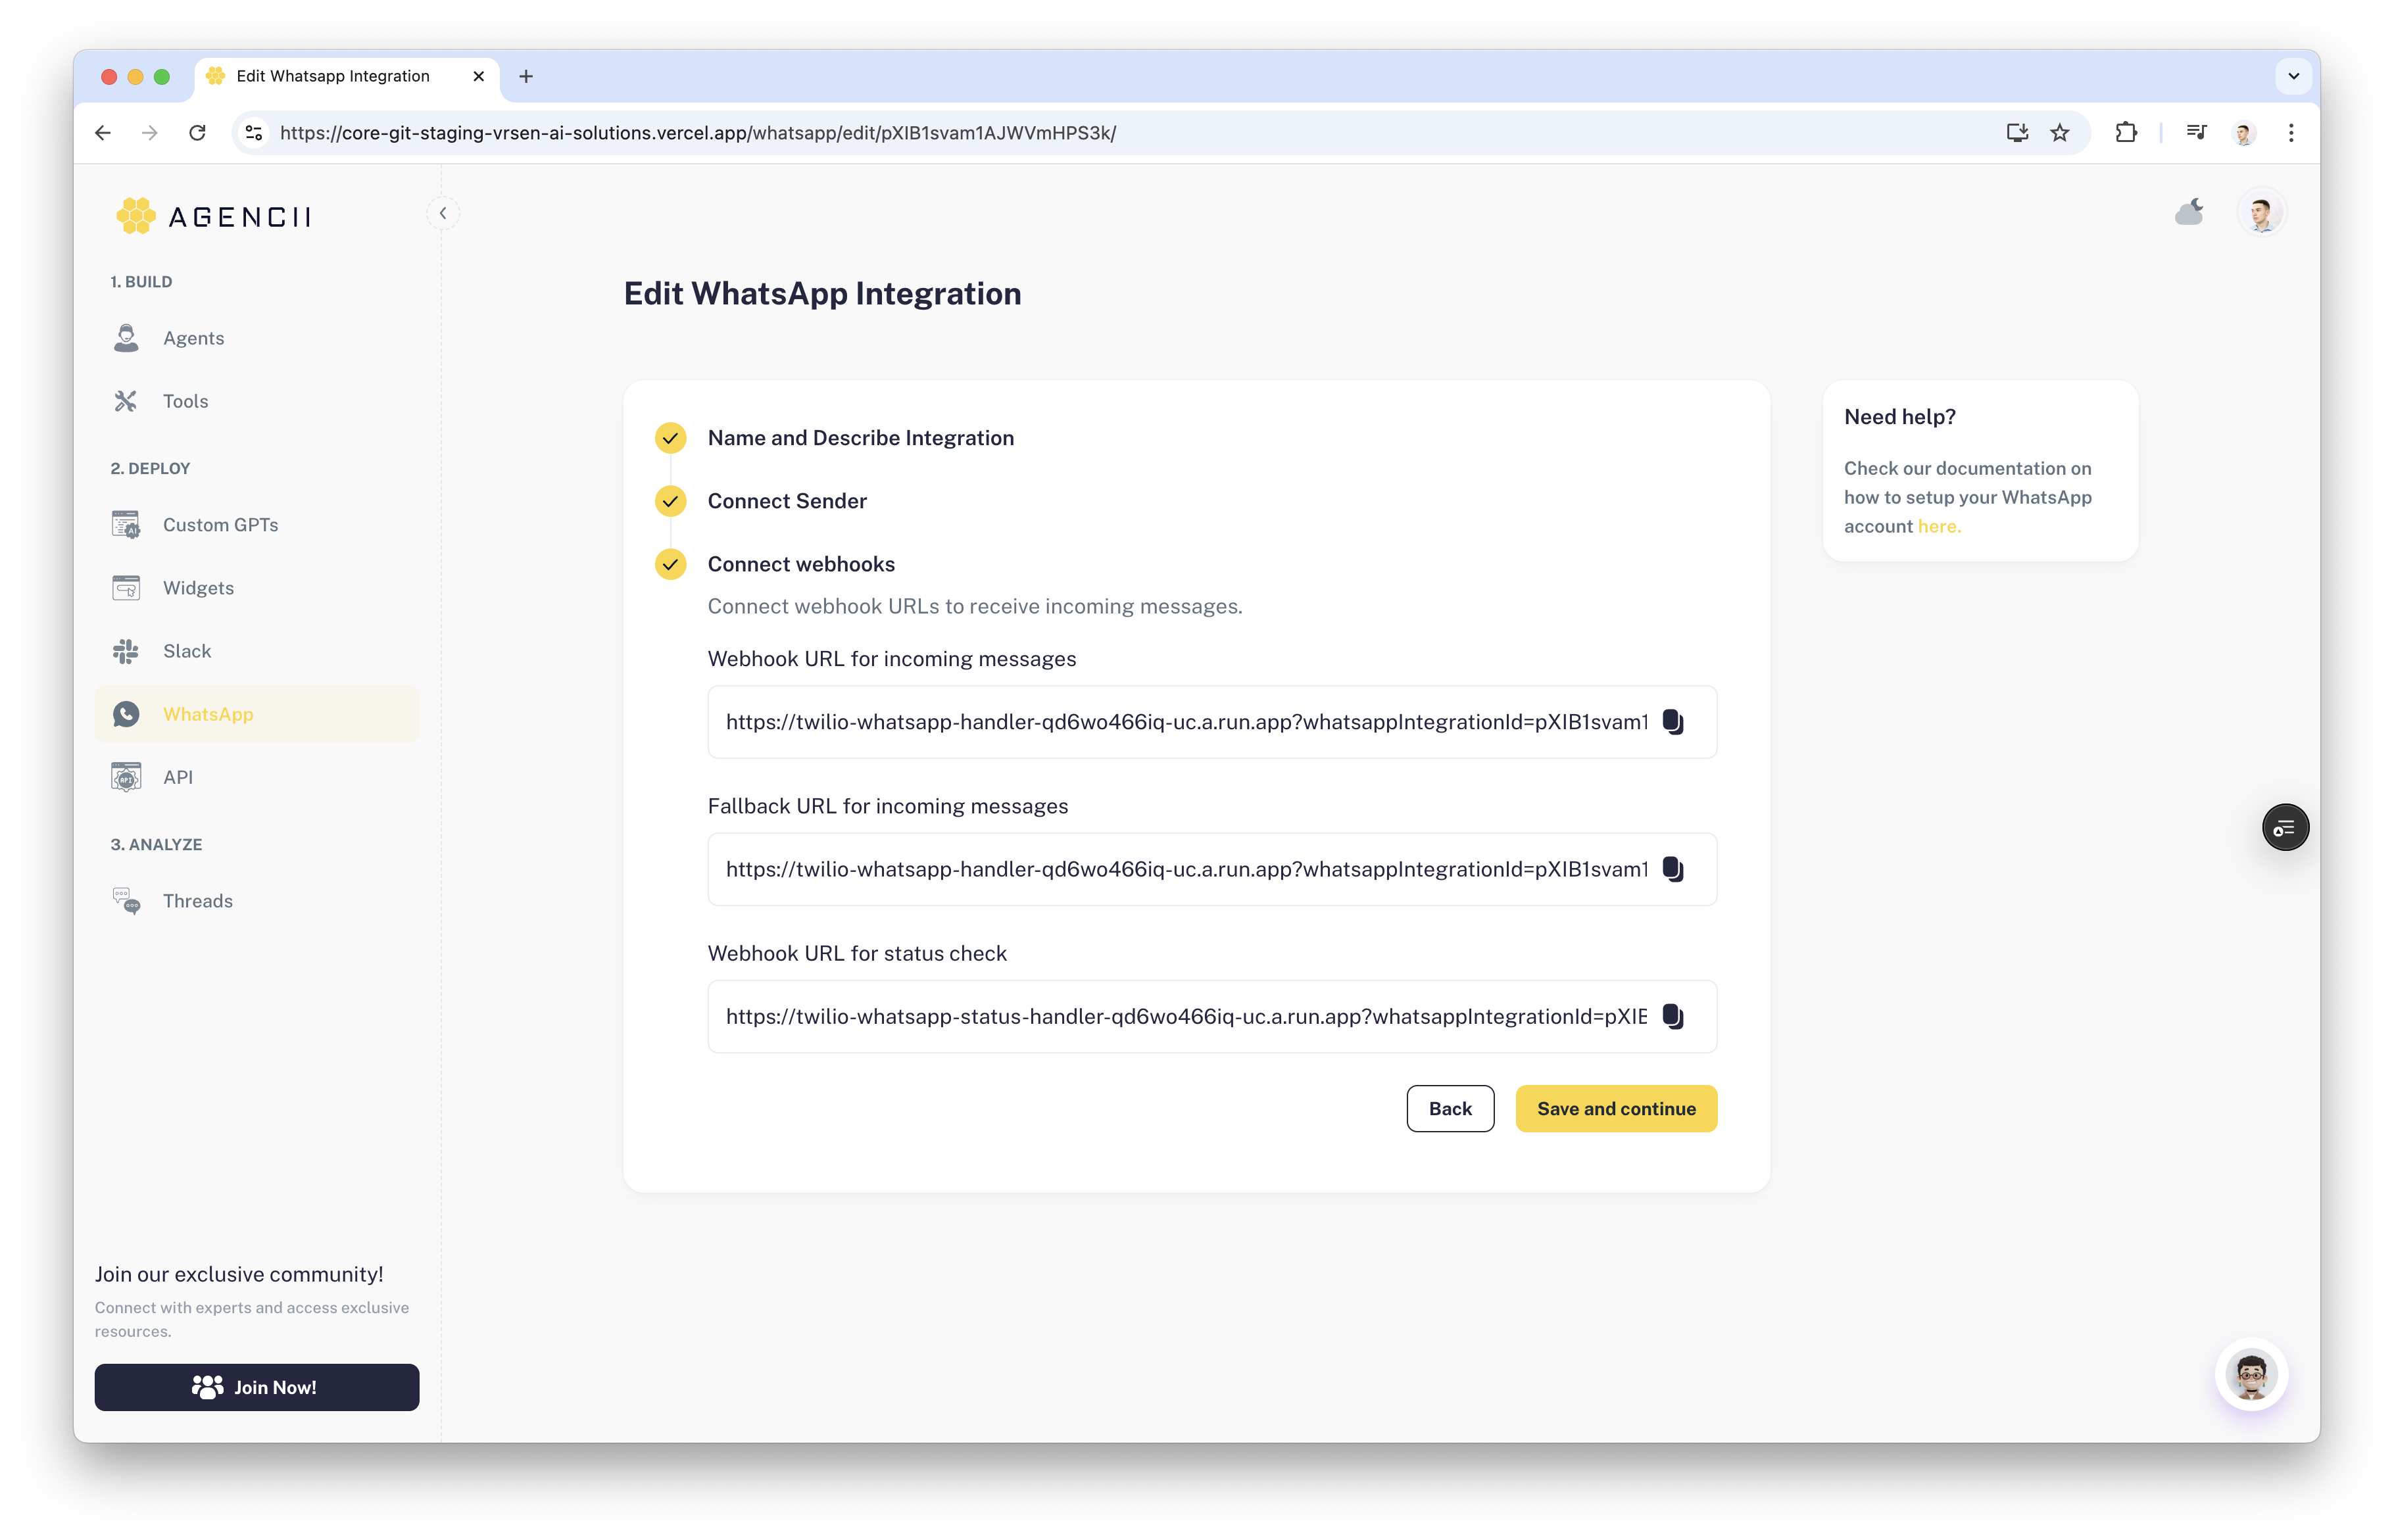
Add whatsapp sender on agencii