- CopilotKit/AG-UI Interface: The most modern and recommended way to get started.
- Get Response: For backend or custom integrations.
- Terminal Version: Best for quick debugging and testing.
Pre-requisites for CopilotKit/AG-UI Demo
To use the CopilotKit/AG-UI demo (copilot_demo()), make sure you have the following installed:
- Node.js (v18 or newer recommended): Download Node.js
- npm (comes with Node.js)
CopilotKit/AG-UI Interface
To open a CopilotKit interface, use thecopilot_demo method:
localhost link from the terminal to start using your agency in a chat-based UI.
Get Response
To get a response from your agency directly in code, use the asyncget_response method:
message: The message to send to the agency.additional_instructions(optional): Additional instructions that will be appended at the end of instructions for the recipient agent.recipient_agent(optional): The agent to which the message should be sent.
Track Usage and Cost
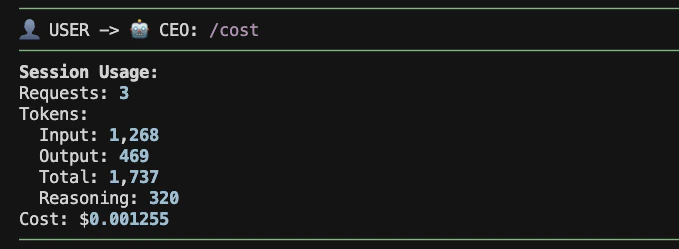
usage object, see Observability.
If you’re running your agency as an HTTP API, see Serving Agencies as APIs.
Terminal UI
The recommended terminal launch path is:If you already launch from Python, Use
agency.tui() is still supported:agency.tui(reload=False) if you want to turn off hot reload on file changes.This Python path stays bound to the Agency instance you launch from code by starting the local bridge automatically.tui(show_reasoning=False) is not supported in the new TUI yet.