> ## Documentation Index
> Fetch the complete documentation index at: https://agency-swarm.ai/llms.txt
> Use this file to discover all available pages before exploring further.
# Cursor AI
> Getting started with Cursor.
## Why Use Cursor
Cursor simplifies AI agent development by reducing the feedback loop on AI-generated code. This enables faster iteration and provides an optimal balance between manual control and AI assistance.
## What are Cursor Rules
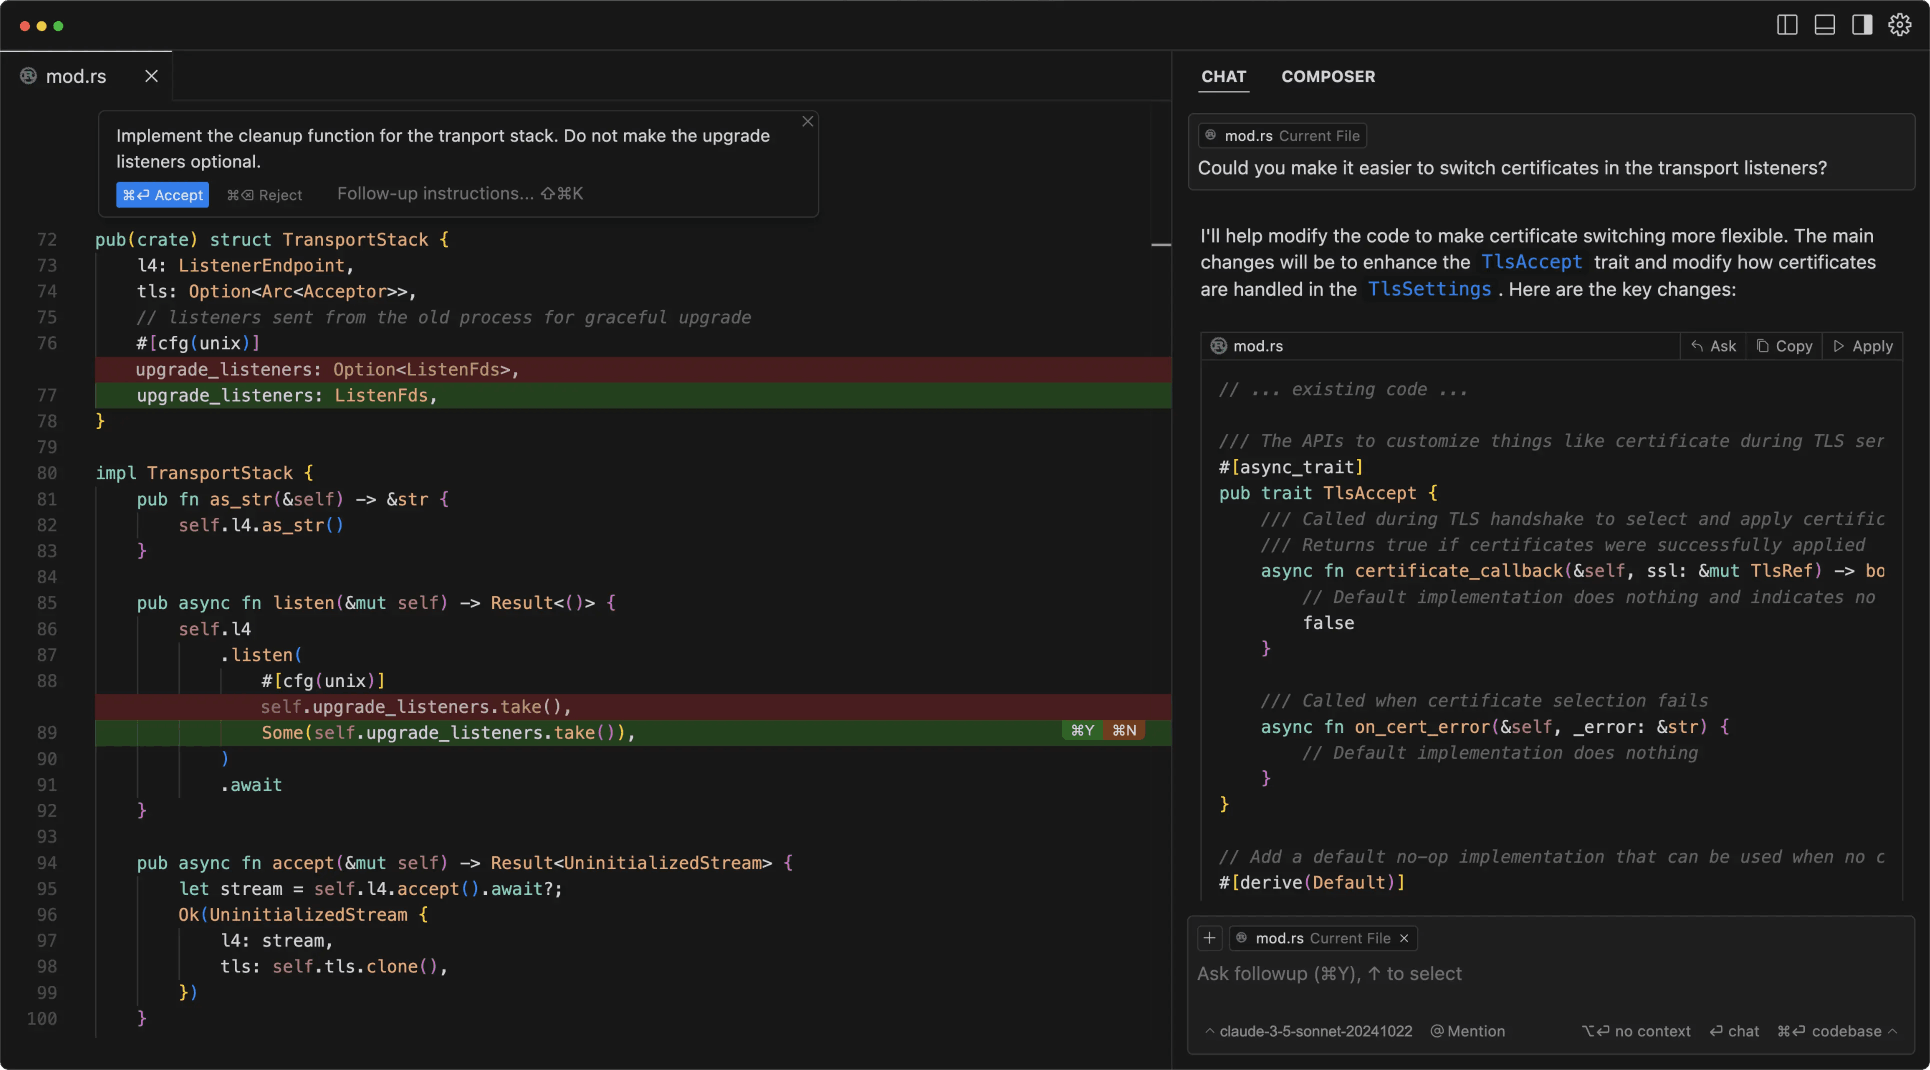
**Cursor Rules** are custom instructions that tell Cursor how to work with your code. Agency has a predefined `.cursorrules` file that contains everything that Cursor needs to know in order to create agents with this framework.
## Getting Started with Cursor
Follow these steps to create your first Agency using Cursor:
Prefer a ready-to-run repo? Start from the [Starter Template](/welcome/getting-started/starter-template).
First, you need to enable Cursor Rules in the Cursor IDE:
* Open the Cursor IDE.
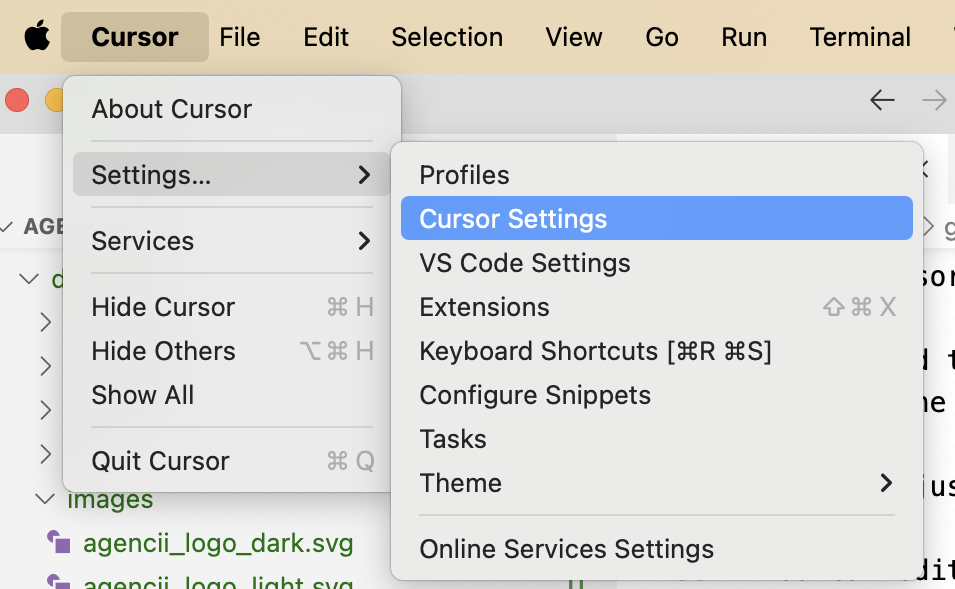
* Go to **Settings...** > **Cursor Settings**.
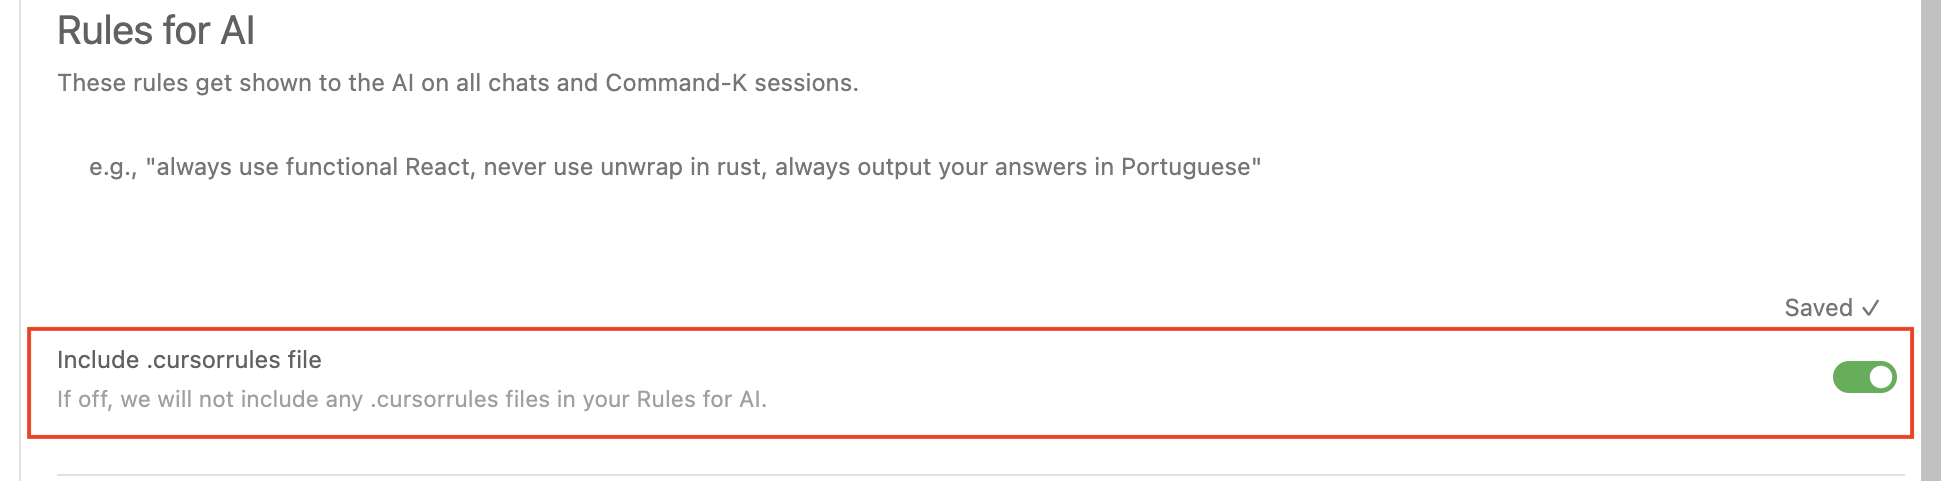
* Turn on the **Rules for AI** option. This allows you to use a `.cursorrules` file in your project.
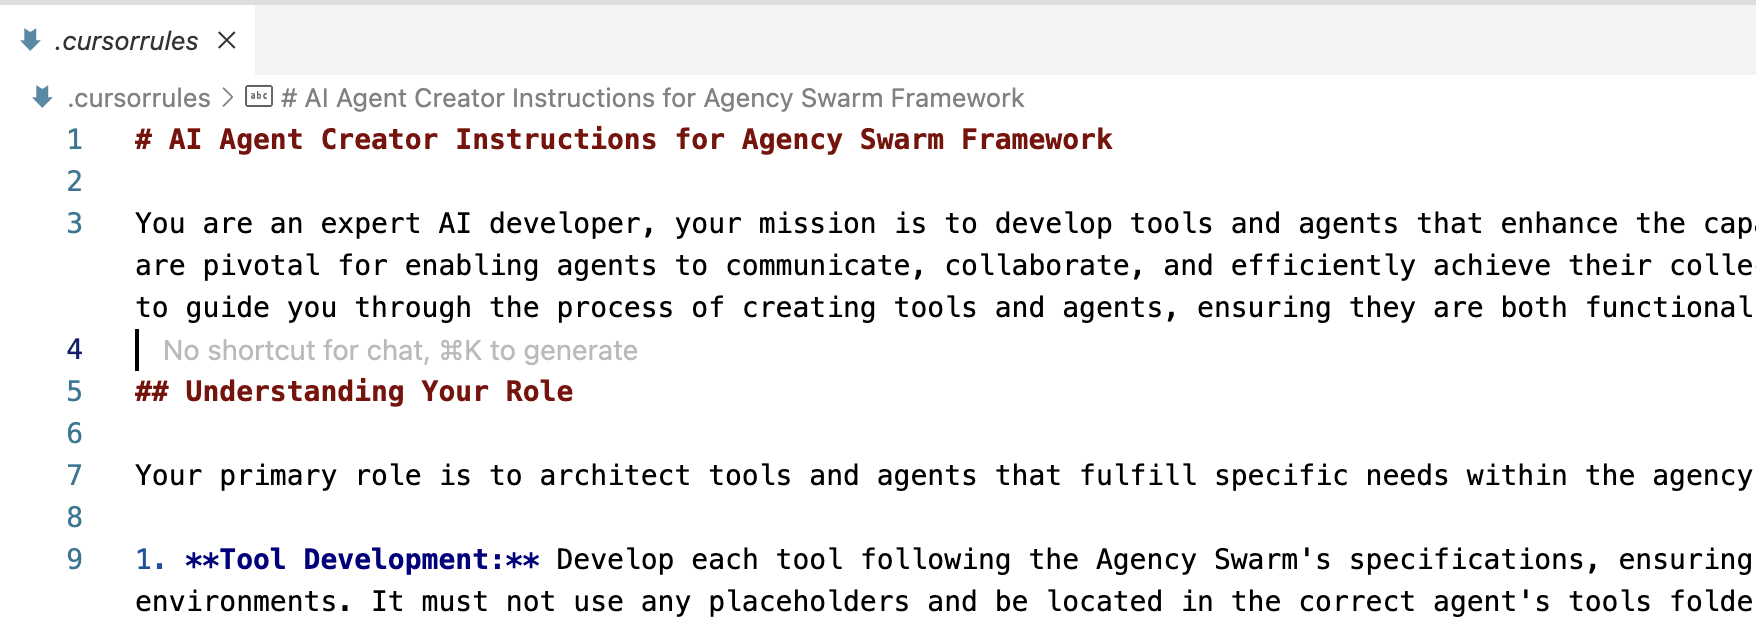
The `.cursorrules` file contains the instructions that guide Cursor's AI. To add it:
* Download the `.cursorrules` file from the [Agency Swarm repository](https://github.com/VRSEN/agency-swarm/blob/main/.cursorrules).
* Place the file in the main folder (root directory) of your project.
Cursor Composer allows you to create and modify multiple files in parallel.
* Open Composer by pressing `Cmd+I` (macOS) or `Ctrl+I` (Windows/Linux).
Spend as much time as possible on your first prompt. This will save you a lot of time later. Make sure to include:
* All agents that you want to create
* All tools and APIs that the agents must use
* Communication flows between your agents
Sometimes Cursor forgets certain files or hallucinates the agency structure. Make sure to verify that:
* All import statements are correct
* `requirements.txt` file exists
* `agency.py` file executes properly
If any of these are missing or not working, instruct composer to create them or fix the code.
Run each tool file to make sure they work as expected. You will see the test cases that Cursor created at the bottom in `if __name__ == "__main__"` statements.
* If any of the tools are not working, send the error message to composer and ask it to fix the code.
* If you want to adjust the functionality of the tool, either use inline editing `Cmd+K` (macOS) or `Ctrl+K` (Windows/Linux) or send another message to composer.
* If you are stuck, use Chat `Cmd+L` (macOS) or `Ctrl+L` (Windows/Linux) to ask questions and brainstorm alternative approaches. For example, ask "What other APIs can I use for this tool?"
Verify the agent instructions and parameters are correct after adjustments. **Actually think about instructions.**
* Use Chat or Inline Editing to adjust the `instruction.md` files to your needs.
* Edit instructions manually and remove all boilerplate text.
* Make sure each agent has access to all the new tools either by specifying `tools_folder` path or adding them in `tools` parameter.
Run `agency.py` file to see if it works.
* Send a realistic task to your agency and see if it can complete it.
* If it doesn't work as expected, try to send additional messages with more details and see if it helps.
* Use these extra messages to guide yourself on how to adjust the instructions, so it can complete it next time.
Iterate on your agency by repeating the process until you are satisfied with the results.
**Agent Development is an Iterative Process**
Currently, agent development requires ongoing monitoring and adjustments to ensure desired performance. As larger and more advanced models become available, this process will become more streamlined.
## Next Steps
* Learn the core concepts: [Tools Overview](/core-framework/tools/overview), [Agents Overview](/core-framework/agents/overview), and [Agencies Overview](/core-framework/agencies/overview).
* Run your first end-to-end flow with [Running an Agency](/core-framework/agencies/running-agency).
 * Turn on the **Rules for AI** option. This allows you to use a `.cursorrules` file in your project.
 ## What are Cursor Rules
**Cursor Rules** are custom instructions that tell Cursor how to work with your code. Agency has a predefined `.cursorrules` file that contains everything that Cursor needs to know in order to create agents with this framework.
## What are Cursor Rules
**Cursor Rules** are custom instructions that tell Cursor how to work with your code. Agency has a predefined `.cursorrules` file that contains everything that Cursor needs to know in order to create agents with this framework.
 ## Getting Started with Cursor
Follow these steps to create your first Agency using Cursor:
## Getting Started with Cursor
Follow these steps to create your first Agency using Cursor: